Best Teams
Build around 5 lanes and 15 Tatari.
Use video-informed 15-slot templates for beginner, F2P, Boss, Horde Invasion, and Gold Mine Rush teams, then mark owned Tatari to generate a quick role-based recommendation.
Beginner Chapter 15
A 5-lane starter shell: each lane gets a holder, a damage/counter piece, and a support or flex answer. Use it as a shape, not a fixed pull requirement.
Lane 1 - first contact
Stable opening lane with early damage behind it.
 ZapupBlueTank
 CluckyBlueDPS
 CheerletSupport
Lane 2 - water cover
Water frontline plus practical early damage.
 ShellshyBlueTank
 SparkrowBlueDPS
 BuddiHealer
Lane 3 - rock stopgap
Low-rarity/high-star value while the account grows.
 SnoozeboBlueTank
 RockhogBlueDPS
 TrippetSupport
Lane 4 - T2 test lane
Test mid-game skills before spending deeper resources.
 CobbledonPurpleTank
 IgnisnapPurpleDPS
 SealoonPurpleDPS
Lane 5 - setup lane
Try stronger damage/setup once the roster has room.
 FrostpawPurpleDPS
 ZapantlerPurpleDPS
 WaveflutterDPS
F2P Chapter Push 15
For free-to-play pushes, use accessible stars honestly. Swap one Tatari at a time when a chapter blocks you.
Lane 1 - starter pressure
Starter tank and two easy damage checks.
ZapupBlueTankCluckyBlueDPSSparkrowBlueDPSLane 2 - sturdy filler
Affordable lane-holding with high-star stopgaps.
ShellshyBlueTankRockhogBlueDPSSnoozeboBlueTankLane 3 - budget cover
Use obtainable pieces before forcing rare endpoints.
 CapywataBlueDPS
 MudrumpBlueDPS
 BoldclawBlueTank
Lane 4 - utility lane
Support, healing, and specialist value for awkward waves.
 GoonbugPurpleSpecialistCheerletSupportBuddiHealer
Lane 5 - T2 damage lane
Mid-game damage/support tests for harder chapters.
TrippetSupportIgnisnapPurpleDPSFrostpawPurpleDPSBoss / Hard Chapter 15
Hard chapters and bosses need damage, control, and enough sustain to avoid lane collapse. This shell leans into proven T3 rush candidates.
Lane 1 - Rock burst
Rock DPS line plus setup and support.
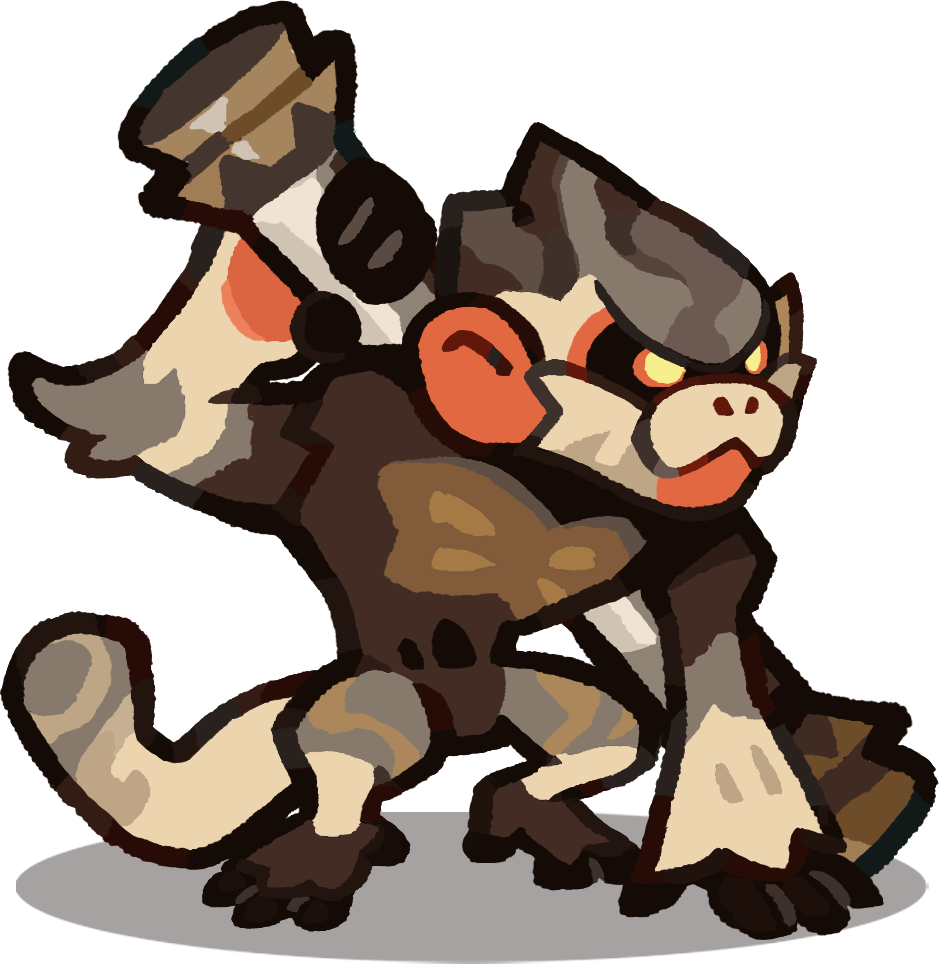 RockongPurpleDPSWaveflutterDPS
 CheerstellaSupport
Lane 2 - Lightning pierce
Piercing damage with a Water all-rounder and sustain.
ZapantlerPurpleDPSSealoonPurpleDPS SunfleurHealer
Lane 3 - Fire control
Pyro frontline/control with Fire tank value.
 HellhoundPurpleGuardian
 PyrodaemonPurpleGuardian
 FirecoilTank
Lane 4 - damage speed
Fire/Water DPS plus attack-speed timeout help.
IgnisnapPurpleDPS AzurionPurpleDPSTrippetSupport
Lane 5 - safety lane
Frontline stability and Water damage for bad matchups.
 FrostiquePurpleDPSCobbledonPurpleTank
 BlitzmanePurpleGuardian
Horde Invasion 15
Horde rewards sustain, buffs, setup, and flexible front/back row planning more than raw rarity.
Lane 1 - utility front
Common Horde utility with Cheer support and healing.
 ToucanzamPurpleTankCheerstellaSupportSunfleurHealer
Lane 2 - Panda setup
Durable utility plus Waveflutter setup and Lightning damage.
 PandarriorDPSWaveflutterDPSZapantlerPurpleDPS
Lane 3 - Lightning hold
Frontline stability and flexible back-row damage.
 ElectroarPurpleGuardianBuddiHealer
 VoltmareRedDPS
Lane 4 - status stack
Gas/AoE status with Fire tank utility.
 SulfunkDPS
 MagmuskDPSFirecoilTank
Lane 5 - clear lane
All-around Water, Rock DPS, and Fire control.
SealoonPurpleDPSRockongPurpleDPSPyrodaemonPurpleGuardianGold Mine Rush 15
Attack teams should end fights quickly and take less damage. Defensive teams can lean harder into healers, buffs, and control because Gold Mine Rush formations, ranges, movement, exhaustion, and rally timing behave differently from chapters.
Lane 1 - fast clear
Fast frontline, burst damage, and support.
BlitzmanePurpleGuardianIgnisnapPurpleDPSCheerletSupportLane 2 - Fire pressure
Weak/control line plus durable Fire pressure.
 PyropupPurpleGuardian
 PyrohoundPurpleGuardianHellhoundPurpleGuardian
Lane 3 - pierce lane
Piercing Lightning and Water utility.
ZapantlerPurpleDPSSealoonPurpleDPSTrippetSupportLane 4 - setup damage
Status plus Waveflutter setup for clustered enemies.
SulfunkDPSWaveflutterDPSFirecoilTankLane 5 - low-loss flex
Healing, tanking, and lane control to reduce damage taken.
SunfleurHealerCobbledonPurpleTank ArmorjawTank
15/15 Tatari placed
Pick a slot, then tap a Tatari. Full board means 15, not 16. Sneaky math.
15-slot board
Beginner Chapter 15
A 5-lane starter shell: each lane gets a holder, a damage/counter piece, and a support or flex answer. Use it as a shape, not a fixed pull requirement.
Lane 1
Stable opening lane with early damage behind it.
Lane 2
Water frontline plus practical early damage.
Lane 3
Low-rarity/high-star value while the account grows.
Lane 4
Test mid-game skills before spending deeper resources.
Lane 5
Try stronger damage/setup once the roster has room.