Clash of Critters All Tier List
The Best Clash of Critters Tatari Tier List
Compare the full T1, T2, and T3 rankings, then jump to the evolution tier your roster can field now.
Updated T1 Starter Tier List
T1 starter ranking focused on early lane value, safe first upgrades, and which low-form Tatari should wait until later evolutions.
 BlueflickPurpleDPS
Strong early Fire damage path before the account reaches T2; good when you need a simple lane clearer.
 PyropupPurpleGuardian
High-value Fire Guardian starter that holds early lanes and leads into stronger frontline forms later.
 RubbletPurpleTank
Reliable Rock tank bridge for accounts planning toward stronger Rock frontlines.
 ZappurPurpleGuardian
Reliable early Lightning damage with enough reach to contribute before the lane gets crowded.
 FruglingPurpleDPS
Grass DPS starter that can carry early lanes before higher evolutions.
 FrostnipPurpleDPS
Clean early Water slow source and one of the safest control projects.
 TindercubGuardian
Useful Fire Guardian starter when a Fire lane needs more body.
 ShrimpyroDPS
Practical early Fire DPS slot for accounts short on lane damage.
 AshlarvaTank
Fire support/tank line with healing and AoE potential.
 MomopoTank
Rock tank that can stabilize a lane before late Rock projects are ready.
 GibberPurpleGuardian
Solid early Rock Guardian for front-line coverage.
 VoltfawnPurpleDPS
Lightning DPS with a good upgrade path into piercing pressure.
 CheerlingSupport
Early support with healing and boost value; place it beside two useful allies whenever possible.
 ManteenyPurpleTank
Grass damage and control make it a practical early pick when the lane needs more than raw damage.
 WaddledoPurpleTank
Water tank option for early lane stability.
 CavyzapPurpleDPS
Electro Cage adds small AoE, Bind pressure, and piercing follow-up signals that can interact across lanes; reaching T2 only needs six copies and 300 defeated Zobos.
 SnowcubPurpleTank
Three piercing fish give this Water Tank useful lane damage, while its Danger trigger spends a fish to heal and clear debuffs; the extra range makes it a strong early A-tier holder.
 DroppitPurpleDPS
A usable Water starter, though the line needs later evolutions before its control becomes a real priority.
 PandarooDPS
Grass damage starter and bridge into Panda-line utility.
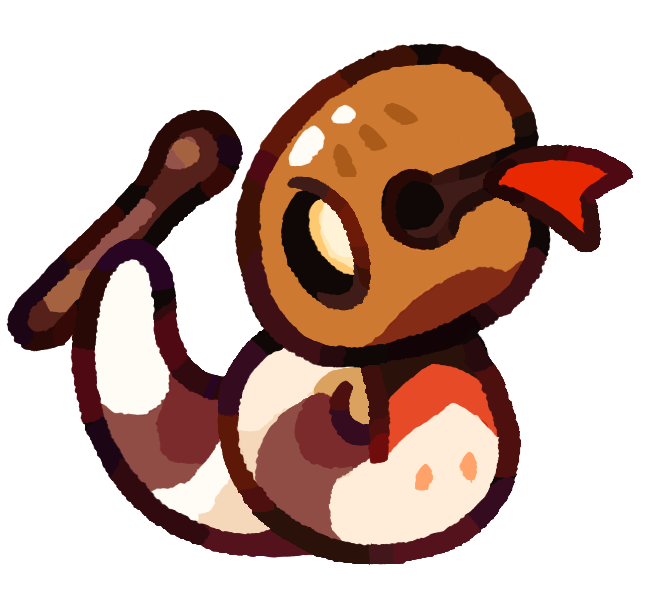 TaptailDPS
A steady Rock damage bridge with better value once its later forms unlock.
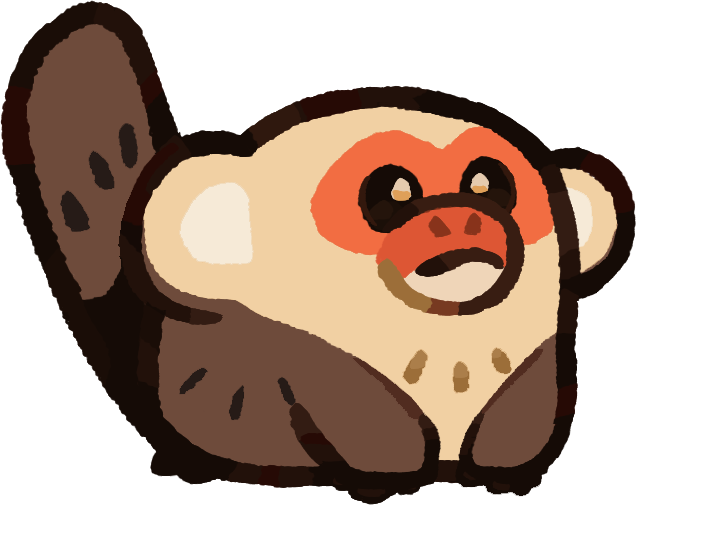 PunchimpPurpleDPS
T1 bridge toward the Rockong line; keep resources measured until the line progresses.
 SealingPurpleDPS
Water utility bridge before the stronger T2 skill spike arrives.
 GoonbugPurpleSpecialist
Specialist roster filler that can patch awkward early lanes.
 SparkeetTank
Lightning tank with useful early defensive value when a lane needs a sturdier body.
 ZapupBlueTank
Starter tank that can still appear later when a simple Lightning frontliner fits the lane.
 MaskfryTank
Water tank option for specific early lanes.
 BudbooPurpleDPS
Poison gives this new Grass starter a real job, but the periodic venom seed is less dependable than the top early carries.
 CindermunkBlueDPS
Usable Fire DPS, but lower priority than stronger starter lane options.
 CactobudDPS
Grass DPS filler at T1 before better Grass options appear.
 FlufflePurpleDPS
Lightning DPS filler; hold resources until it proves a lane job.
 FungletSupport
Support pick that only pays off when the formation actually benefits.
 HumbugDPS
Rock DPS with lower early priority.
 SacklingTank
Grass tank with a useful role, but usually not the first starter to upgrade.
 ZapletPurpleSpecialist
Lightning damage bridge with low priority unless the lane specifically needs its coverage.
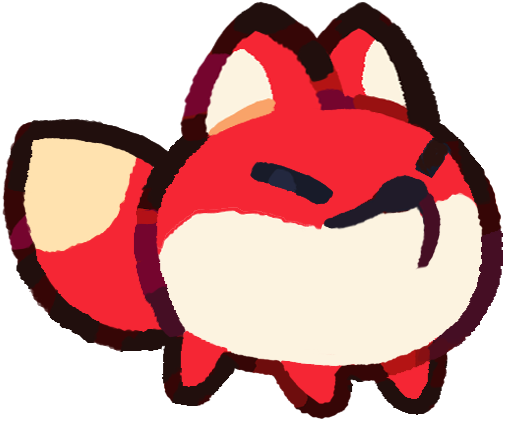 SparkitPurpleDPS
Fire DPS bridge with low priority unless your roster needs it.
 ShardsnailDPS
Rock DPS for niche coverage.
 VoltkitPurpleGuardian
Lightning Guardian starter; not a first upgrade unless the lane needs it.
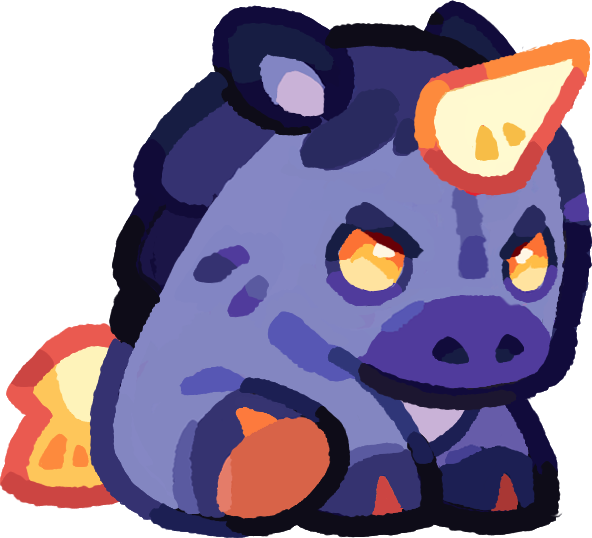 ZapuniPurpleDPS
Lightning DPS starter with low early priority.
 DrillerooSpecialist
Knockback can push two enemies into adjacent rows and apply Shredded when they cannot move, but the setup is situational enough to keep it in C tier.
 FumekitDPS
Continuous gas supplies cheap AoE and can ignite, but this low-form damage is roster filler rather than a first upgrade.
 SparkrowBlueDPS
Early Fire lane pressure is serviceable, but it falls below the sturdier and more reliable T1 projects.
Updated T2 Skill Spike Tier List
T2 skill-spike ranking focused on healing, fragile/slow utility, frontline stability, and which mid-stage forms are worth testing before deeper investment.
 CheerletSupport
Huge T2 support priority thanks to adjacent healing plus attack and defense boosts.
 BubbitPurpleDPS
Very strong T2 control pick because mist pressure can apply Slow and Fragile.
 CobbledonPurpleTank
Rock tank bridge into stronger Rock frontline value.
 PyrohoundPurpleGuardian
Fire Guardian and important path toward Hellhound.
 ElectroarPurpleGuardian
Lightning Guardian for frontline control.
 SparkdoePurpleDPS
Lightning DPS with piercing and paralysis value.
 StalkerixPurpleTank
Grass tank for lanes that need survival.
 SealoonPurpleDPS
Water DPS utility with strong T2 value.
 IgnisnapPurpleDPS
Fire DPS for teams short on damage.
 FrostpawPurpleDPS
Water slow DPS for safer lane control.
 SnapshadeGoldDPS
Three venomous seeds add useful spread pressure, but placement matters if you want the poison to cover more than one target.
 FirecoilTank
Fire support/tank line with useful boost value; worth raising when your frontline and support needs overlap.
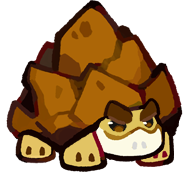 TurtuffPurpleGuardian
Rock Guardian for lanes that need durability.
 RockfuPurpleDPS
Rock DPS bridge toward the Rockong project.
 SynthhogSpecialist
Lightning Specialist for teams that need tech value more than raw damage.
 PandarootDPS
Panda-line bridge for Grass damage and support setups.
 SulfunkDPS
Status/AoE Fire DPS that pairs well with setup and clustered enemies.
 FrugatoadPurpleDPS
Grass DPS for broad element coverage.
 JarachnidTank
Grass tank for formation-specific survival.
 FirefoxDPS
Fire DPS bridge.
 OspiscesTank
Situational pull-in utility helps with specific positioning problems, but it is not a default upgrade.
 RattlecoilDPS
Rock DPS bridge with better long-term value if the later line fits your roster.
 KitjitsuGuardian
Specialized Fire Guardian for players who need a stronger defensive Fire lane.
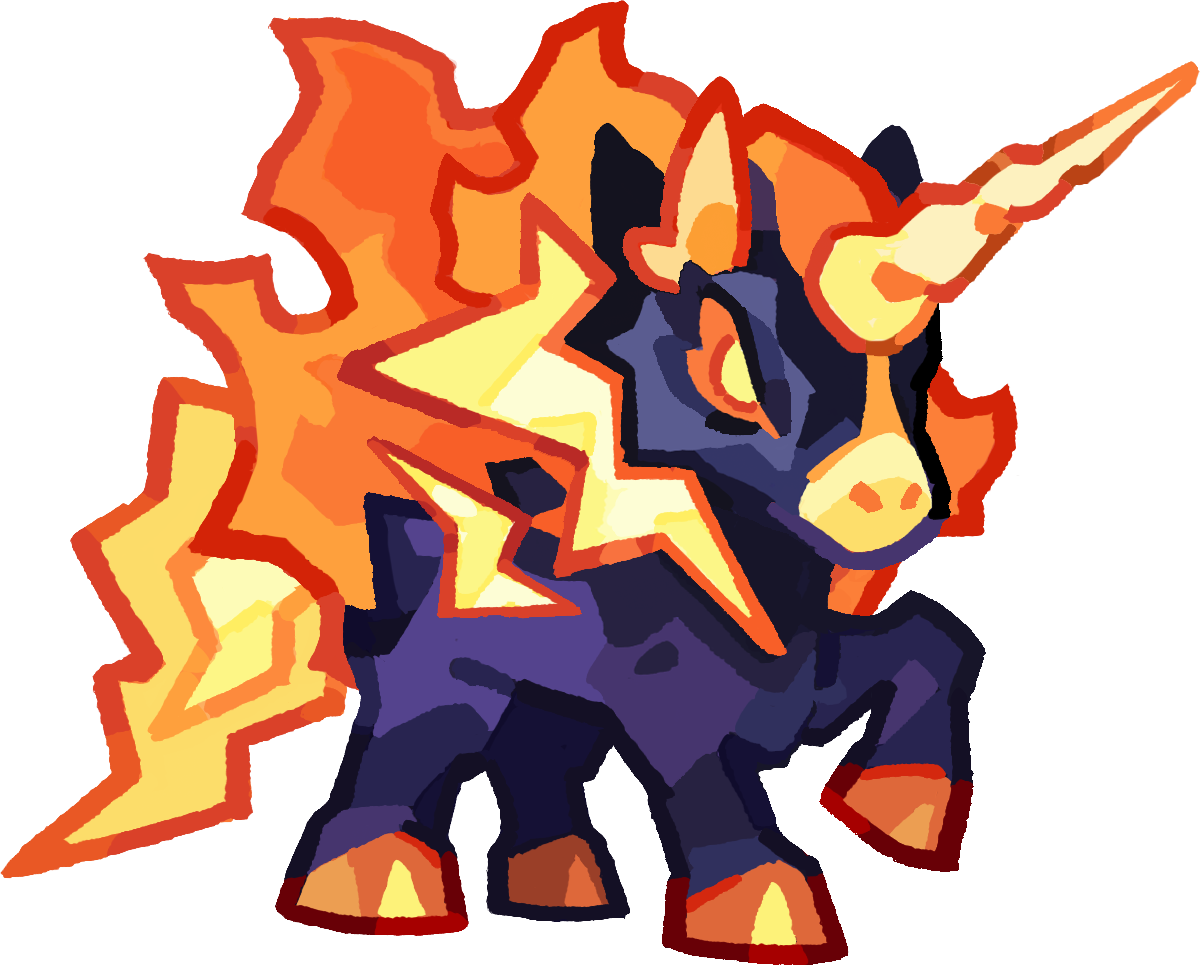 VoltmareRedDPS
Lightning pressure is useful at T2, though the line still wants more investment before it becomes a top carry.
 LulupoTank
A dependable mid-stage body with enough utility to patch a weak lane.
 CapobeetlePurpleSpecialist
Fun Specialist pick, but usually weaker than the best utility options unless the mode favors its adds.
 PuffbellySupport
Attack boost plus targeted healing starts to shine at T2; best when placed near allies that can use both.
 TikowlSupport
Better than it first looks; pairs well with setup tools and can justify testing in utility slots.
 SizzribbGoldGuardian
Burning AoE is worth testing at T2, but this line's bigger payoff arrives with Lickflicker's wider T3 attack.
 HippiehogGoldDPS
Kinesis Cage can hinder two enemies with movement and attack-speed pressure, but it is still one cage, so the T2 jump is useful rather than dramatic.
 PolarpawGoldTank
The fourth fish improves Snowcub's lane coverage, but Foodie Fragile and the same self-heal loop make this a modest evolution instead of a major T2 spike.
 CactobloomDPS
Grass DPS filler with lower upgrade priority.
 DazopusDPS
Water DPS filler with low upgrade priority.
 TrippetSupport
Low-priority Water filler; spend only when it closes a concrete gap in the roster.
 HumbleetleDPS
Rock DPS filler with lower upgrade priority.
 GrillhogSupport
Fire support filler for niche formations.
 PyroprawnDPS
Fire DPS filler with low upgrade priority.
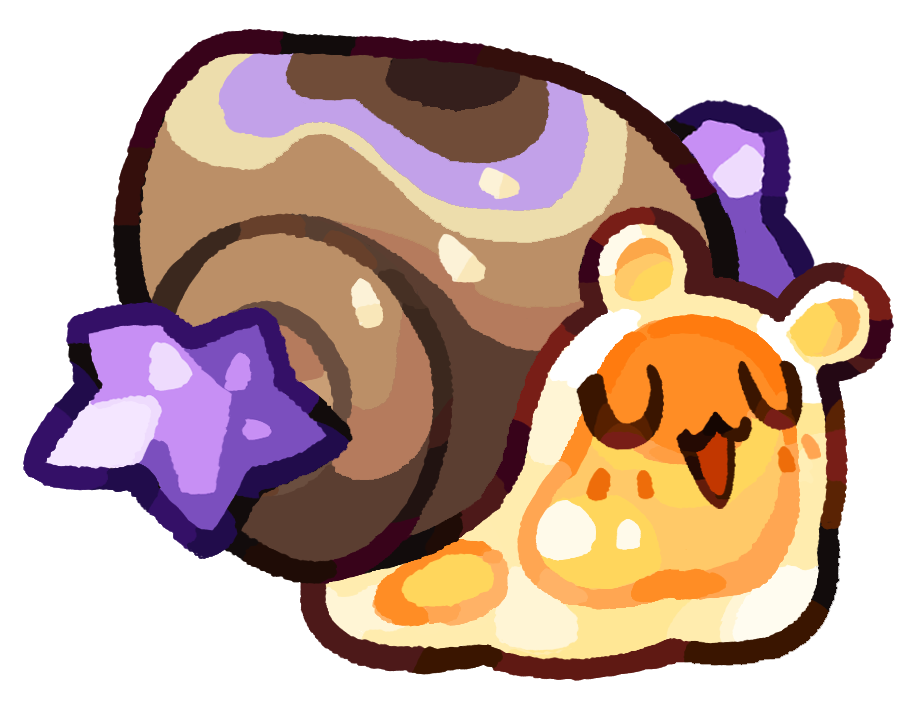 GemsnailDPS
Rock DPS filler with lower upgrade priority.
 NimbuzzyGoldDPS
Lightning DPS filler with lower upgrade priority.
 EmbertailBlueDPS
Fire DPS bridge with low priority unless your roster needs it.
 ClawzorGuardian
Water Guardian filler for defensive lanes.
 CapypapaBlueDPS
Water DPS filler with low upgrade priority.
 CluckerooBlueDPS
Easy stars and a direct heal shot make it useful when the roster needs cheap sustain, even if its ceiling is modest.
 VoltlingPurpleGuardian
A low-priority Lightning bridge; use it when star advantage matters more than raw kit strength.
 PhosflareGoldHealer
Static Shield protects one front-row ally and adds Paralysis when it breaks, but the narrow target coverage keeps it below broader supports.
 SwaystrollPurpleTank
A defensive Water option that can fill an uncovered lane, though it offers less impact than the stronger T2 tanks.
 WatchrooDPS
Useful specialist coverage for a stuck stage, but it needs the right target pattern to justify upgrades.
 CragolinSpecialist
Rock damage and control can patch a weak matchup, but stronger Rock projects scale better.
 SlobberlamaDPS
Bind and limited-range AoE are now useful enough for C tier, especially when enemies bunch up on one tile.
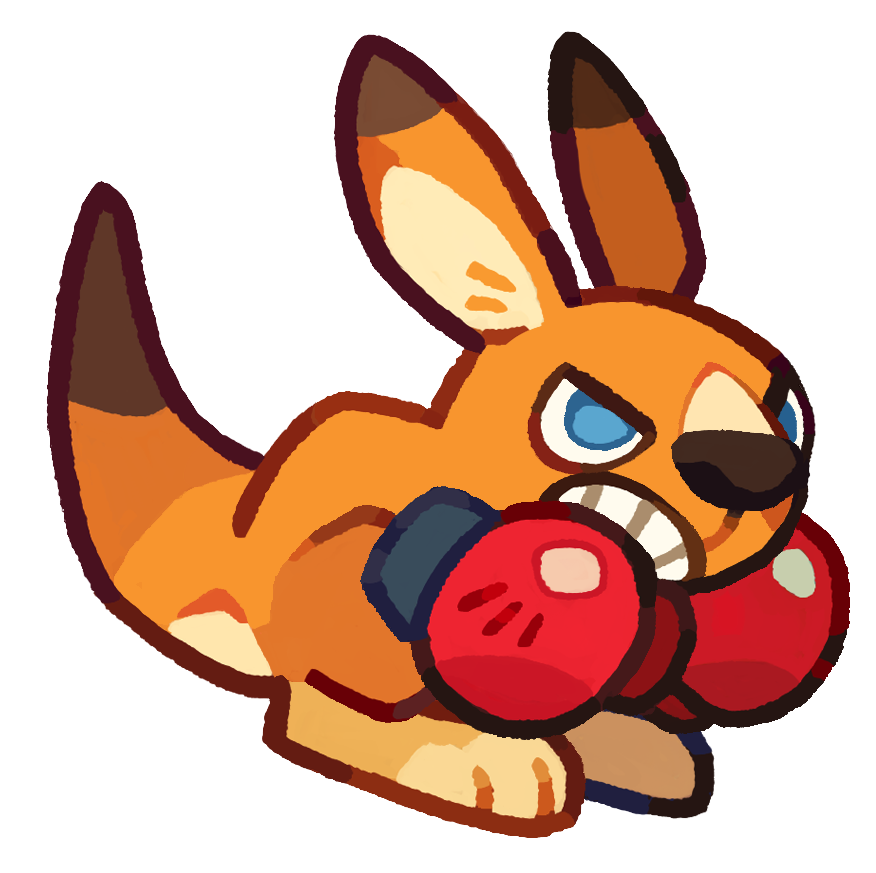 PuncharooGuardian
Its charged punches and Fragile setup now have a real Horde job, but weak chapter, Gold Rush, and boss value keep the T2 form in C tier.
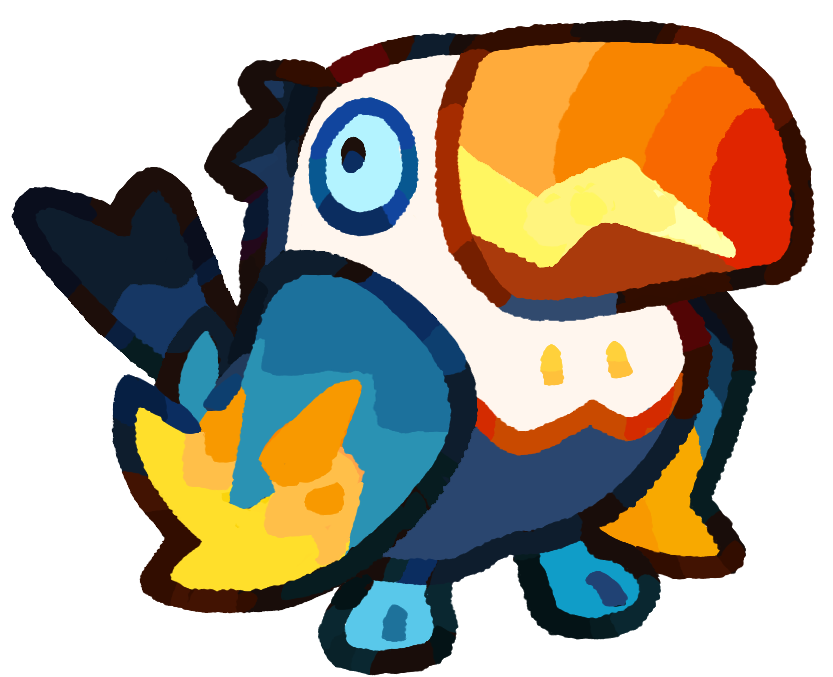 BuzzbeakTank
Charged damage reduction and linked attack boosts still help a defensive setup, but reduced Horde value and limited use elsewhere move it down to C tier.
Updated T3 / Endgame Tier List
T3 and endgame ranking focused on late-game carries, setup engines, support value, durable frontlines, and mode-flexible damage.
 HyphoriaSupport
Spore coverage, ally attack-speed support, and damage reduction now make it useful across chapters, bosses, Dojo, and Horde, earning the top S-tier slot.
 FlarevixPurpleDPS
Extremely strong Fire DPS when burst and explosion value fit the lane.
 TideonPurpleDPS
Top Water DPS endpoint for late-game damage needs.
 WaveflutterDPS
Elite setup engine; use it to multiply allies that benefit from bubble or lane setup effects.
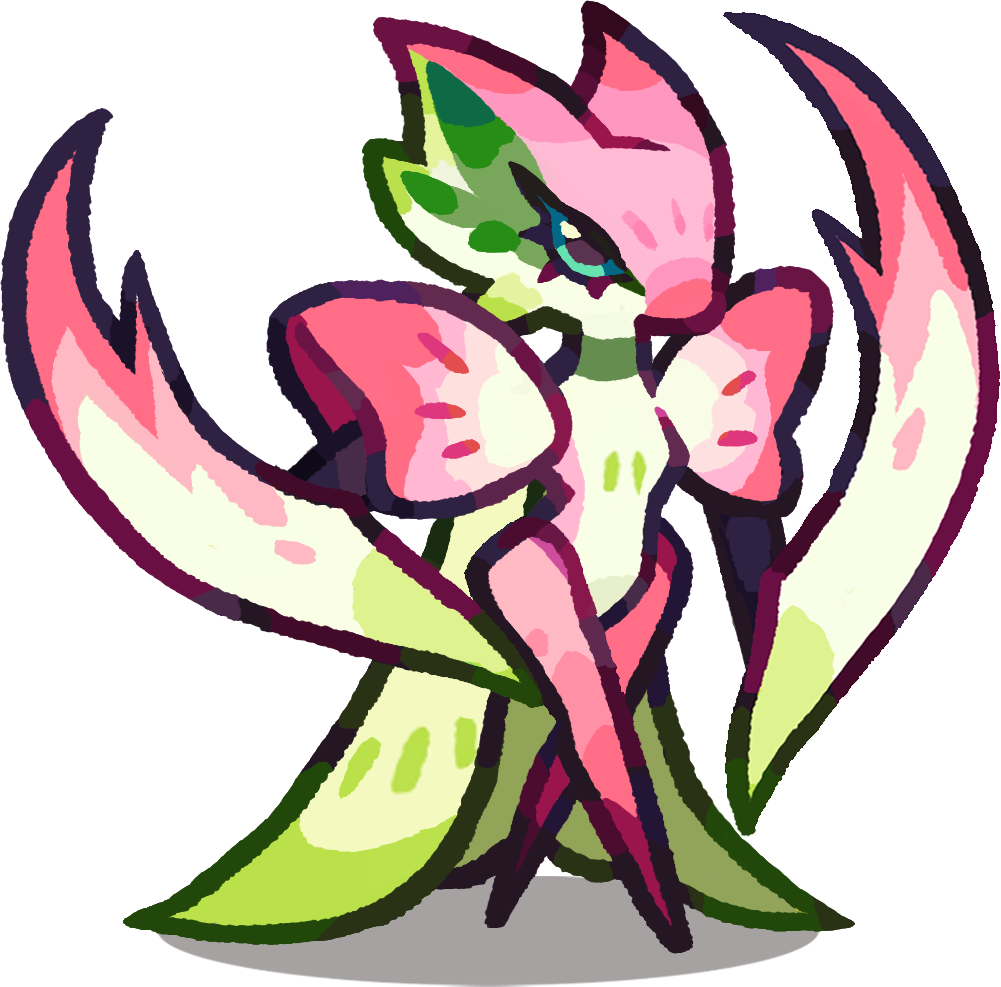 SerrabloomPurpleTank
Top Grass tank endpoint for hard-lane durability.
 PandarriorDPS
High-priority Panda-line endpoint with strong late-game utility.
VoltmareRedDPSStrong at T3 and useful across Dojo, Gold Rush, chapters, and Horde; its broad mode coverage now earns S tier even before the larger T4 jump.
 CheerspringSupport
Top Cheer-line support endpoint for healing and boost value.
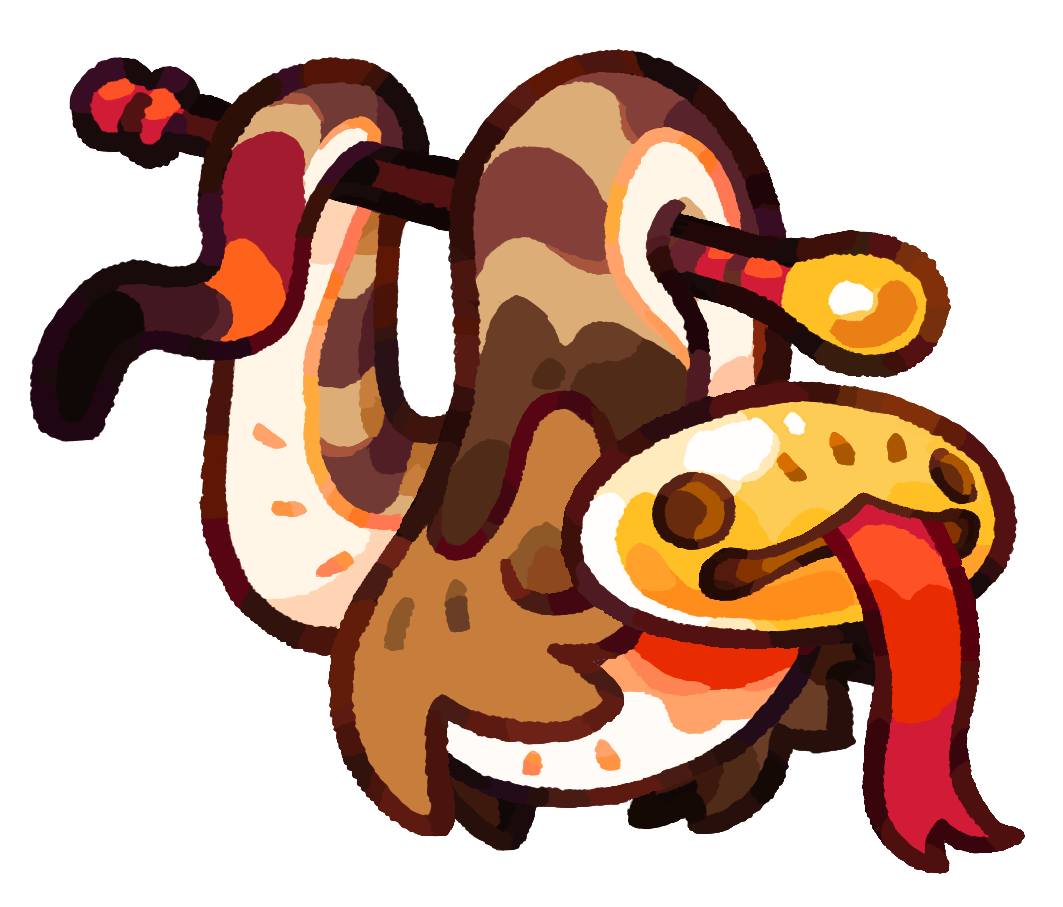 ClangnagaDPS
Piercing pressure works against bosses and dense mobs, especially when Waveflutter helps line up the attack path.
 RockzillaPurpleTank
Top Rock tank endpoint for holding hard lanes.
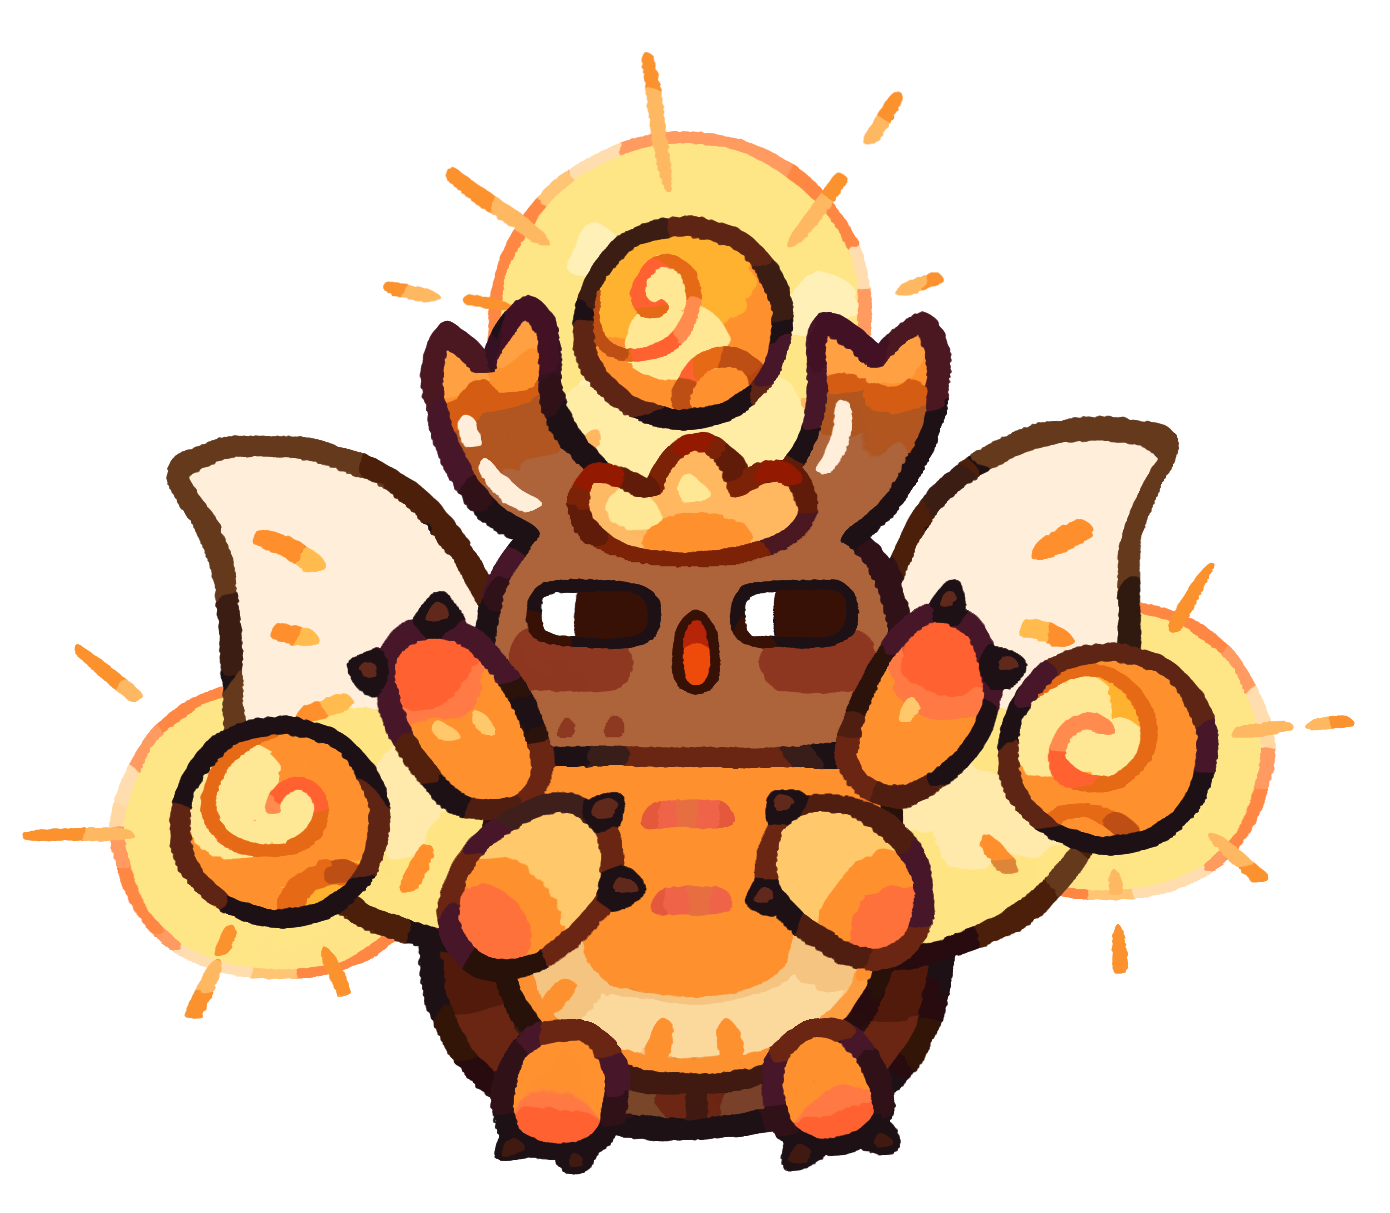 ZenscarabDPS
Reliable boss value and strong focused Rock damage move this beetle from a secondary option into S tier.
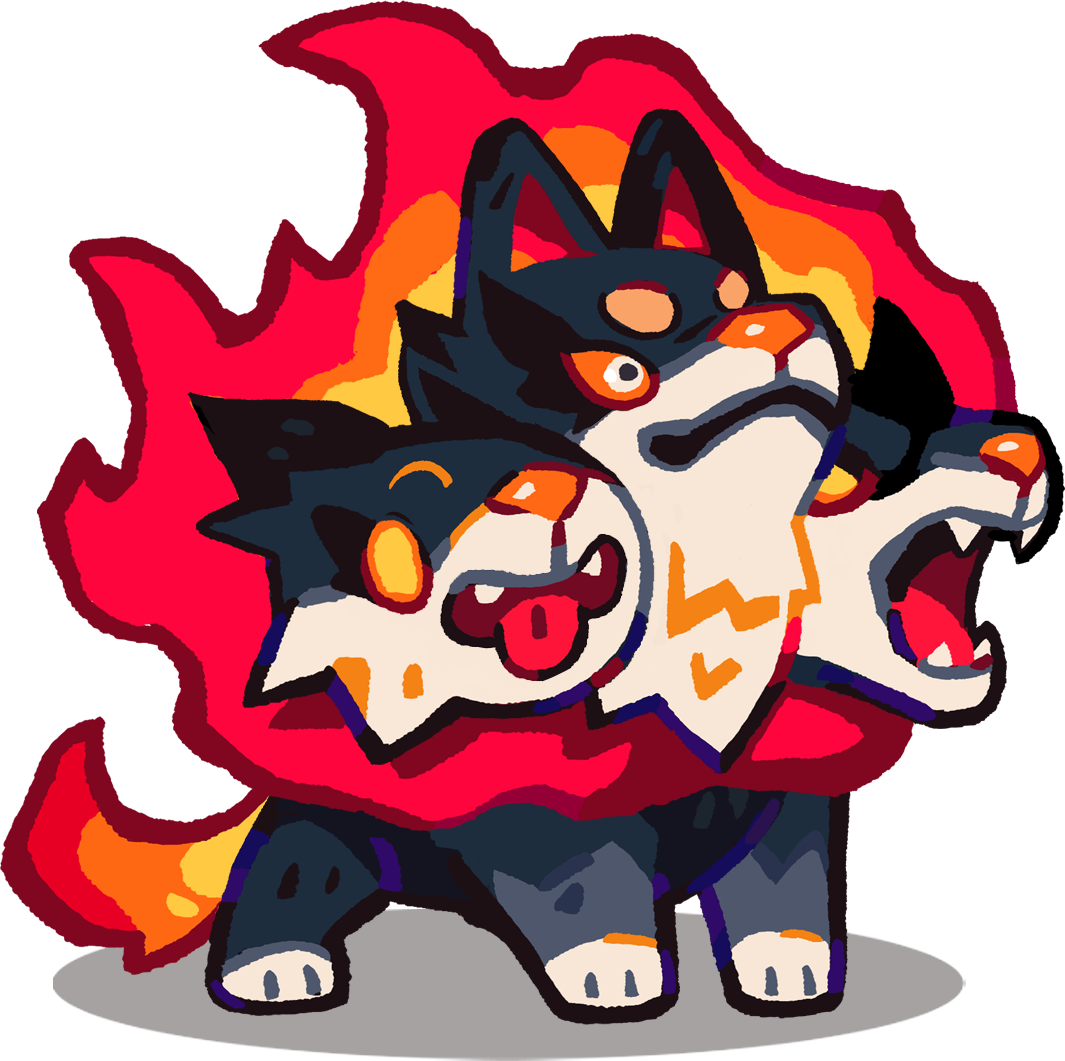 HellhoundPurpleGuardian
Fire Guardian/control pick for hard lane pressure.
 AzurionPurpleDPS
Fire DPS that works especially well with setup support and multi-lane burn pressure.
 FrostiquePurpleDPS
Water DPS/control endpoint with strong late-game utility.
 SeaswirlPurpleDPS
Water utility DPS for flexible late-game lanes.
 CactoczarDPS
Grass DPS endpoint for strong element coverage.
 CharflutterTank
Still a strong Fire tank/support, but reduced Horde use and little Gold Rush demand move it from S to A.
 SolafloraHealer
Grass healer/support endpoint for longer fights.
 BlitzmanePurpleGuardian
Lightning Guardian for durable frontline control.
 ZapantlerPurpleDPS
Still an extremely strong Lightning DPS, but the latest Horde balance gives broader all-mode options the S-tier edge.
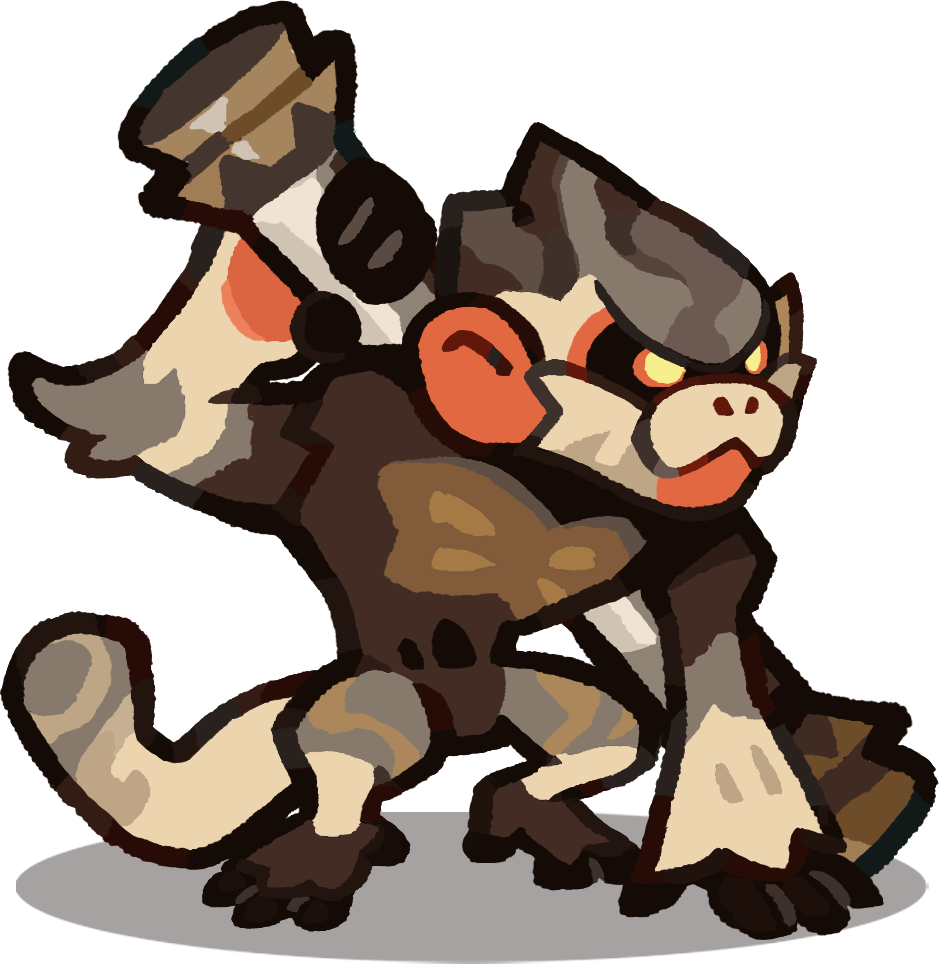 RockongPurpleDPS
Very strong when it first reaches T3, though its relative value falls later enough to move it from S to A.
 RockshellPurpleGuardian
Rock Guardian for durable defensive lanes.
 DreadclawGuardian
Hard-hitting Water pressure earns a slot when the team can keep its lane stable.
 VoltverinePurpleGuardian
Fast Lightning damage adds strong lane pressure without demanding a full setup team.
 ChefuguSupport
Strong T3 support that can throw out attack boosts and healing; best near allies that can use both quickly.
 LickflickerRedGuardian
Its wide forward fire attack spreads Burn through crowded lanes; place it close enough that the cone catches multiple targets.
 ThornwispRedDPS
Three-way poison shots punish close enemies, while poison zones and reliable boss targeting give it strong Horde value despite a slow first zone.
 PyroclobsterDPS
Fire AoE damage is usable against clustered enemies, but stronger carries deserve the first upgrades.
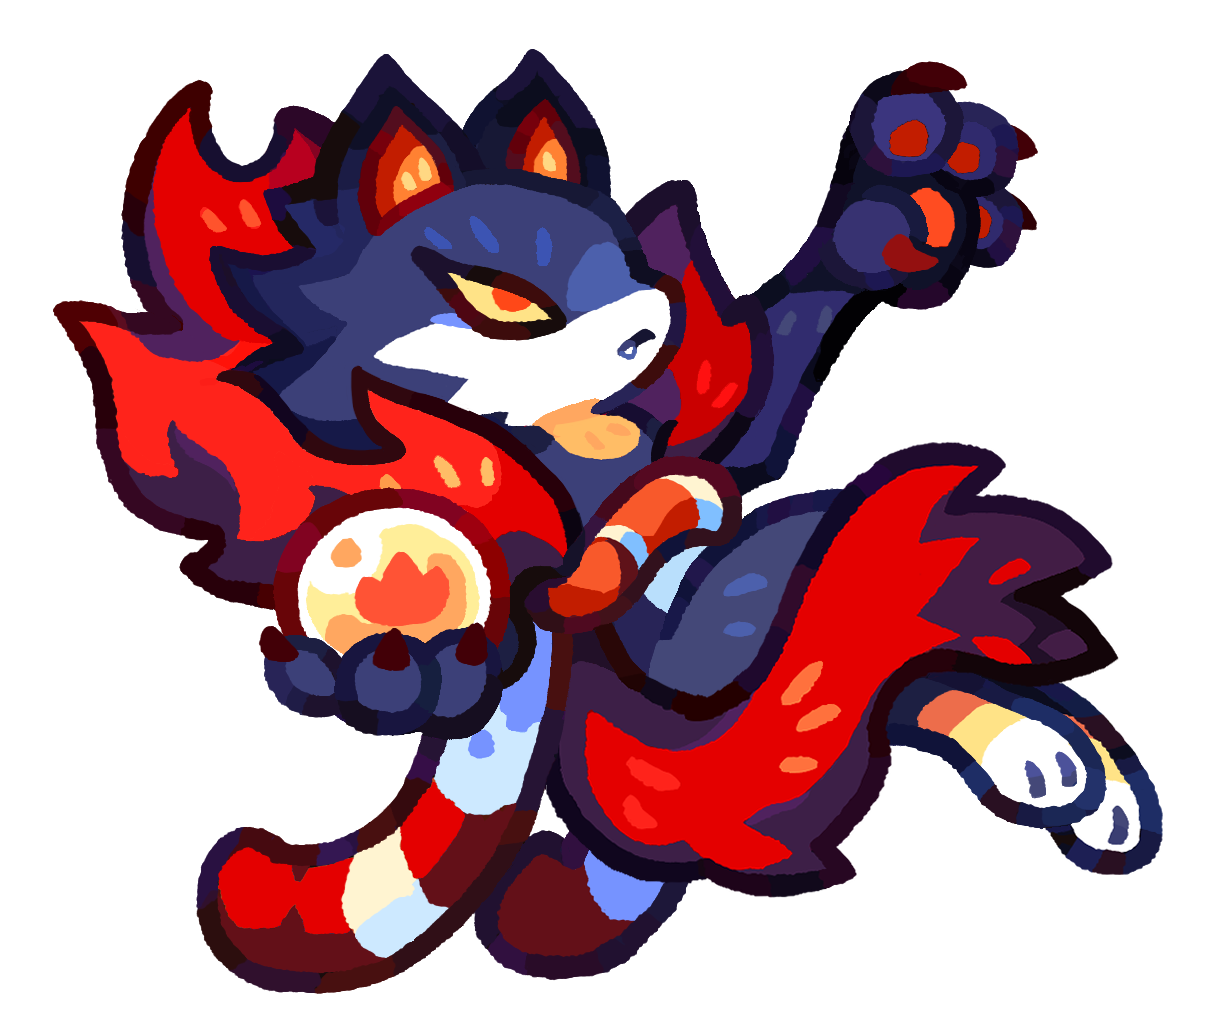 SilversearDPS
A flexible damage pick that works, though it rarely decides a hard lane by itself.
 ChronervaSupport
Improved utility pick that deserves testing when your team needs setup or control support.
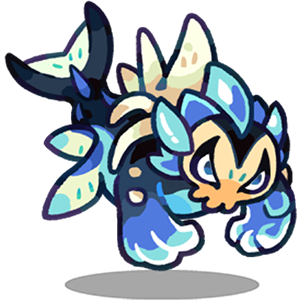 ArmorjawTank
Pull, Stun, and stackable Tidesurge Weak now give it enough frontline control to move from C to B, though it still needs the right lane.
 BlizzgrizzRedTank
Four piercing fish pressure crowded lanes, and the Danger trigger can heal and cleanse Blizzgrizz plus one nearby ally; one-target support keeps it below the top tanks.
 SonarbatSpecialist
Lightning Specialist for teams that need utility more than raw damage.
 FishopusDPS
Its strong temporary Lv.7 Horde hit earns B tier, but limited value outside Horde prevents a higher placement.
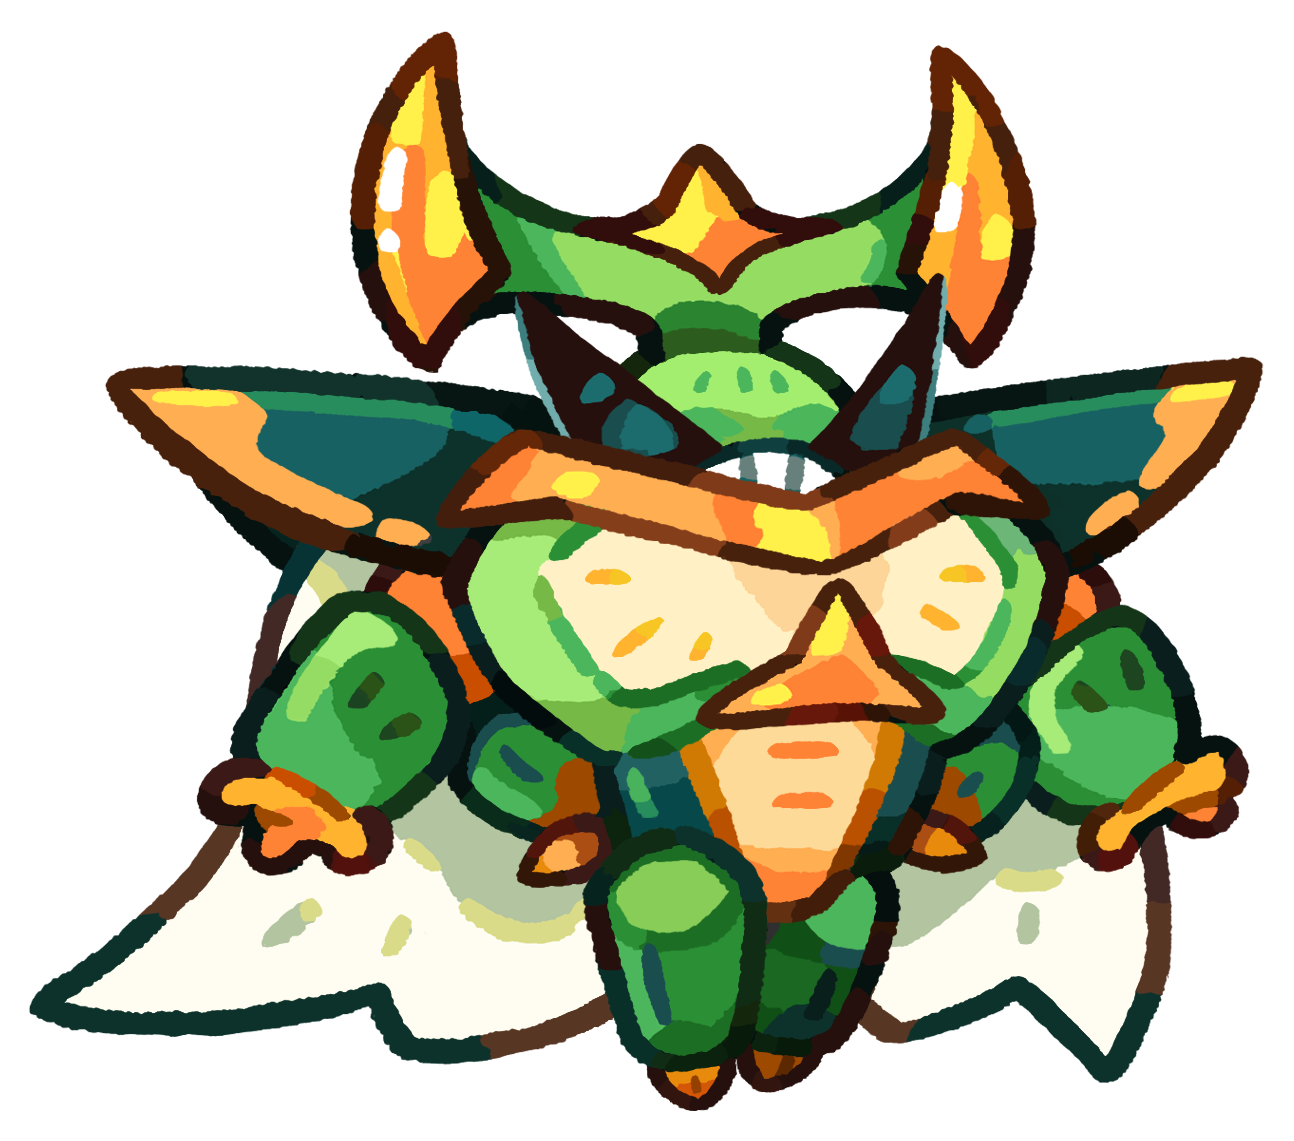 BeetleknightSpecialist
Useful utility and survivability, though it needs the right formation to justify premium resources.
 WheekrollerRedDPS
Magnetic Cage keeps the line's piercing control and adds a cross-shaped impact burst, but the small upgrade leaves it behind elite Lightning carries.
 TaiglowGuardian
Self-healing, a forward dash, and Burn give it a practical chapter and Dojo role, even though Horde and Gold Rush expose its limits.
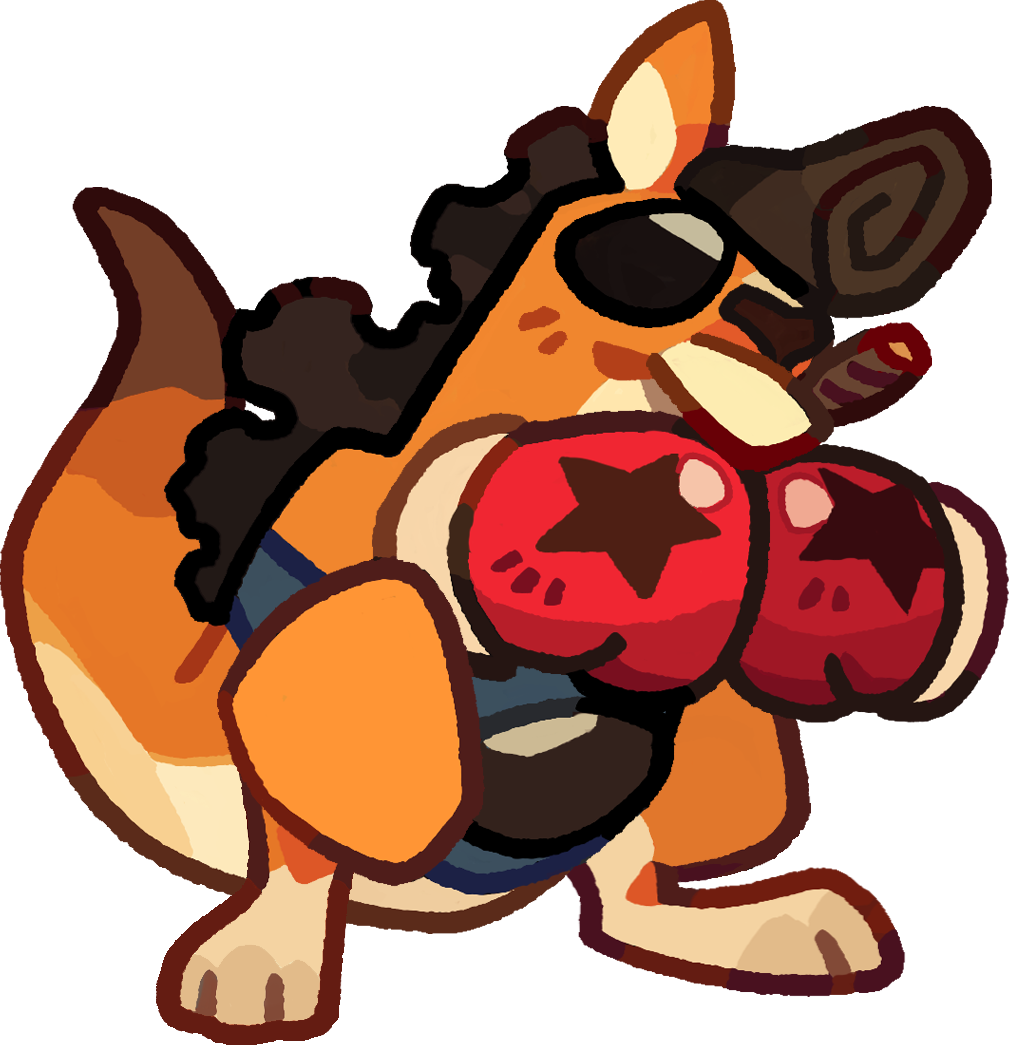 KangachampGuardian
Charged AoE punches, every fifth attack counting as fully charged, and the new Horde counter loop give this frontline Guardian a real B-tier job.
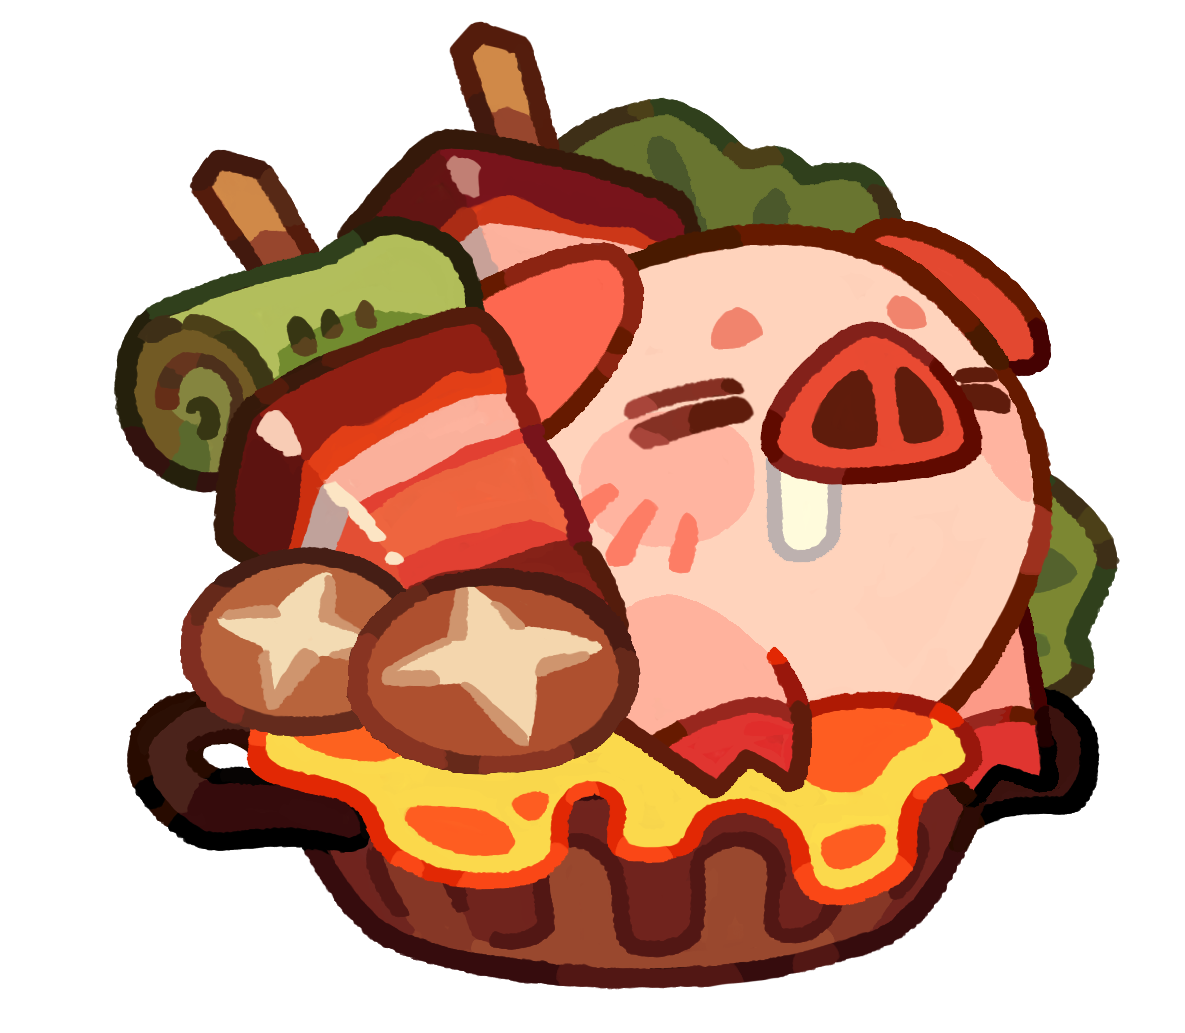 HothogSupport
Shield and attack support can help a specific formation, but spending HP and relying on knockout healing make it inconsistent.
 PtooielamaDPS
Bind plus a Slow zone can control packed enemies, but the short AoE range limits where it works.
 StoodbeakPurpleTank
Ice Shield control remains usable, but its Horde skill now trails the stronger Water frontliners in B tier.
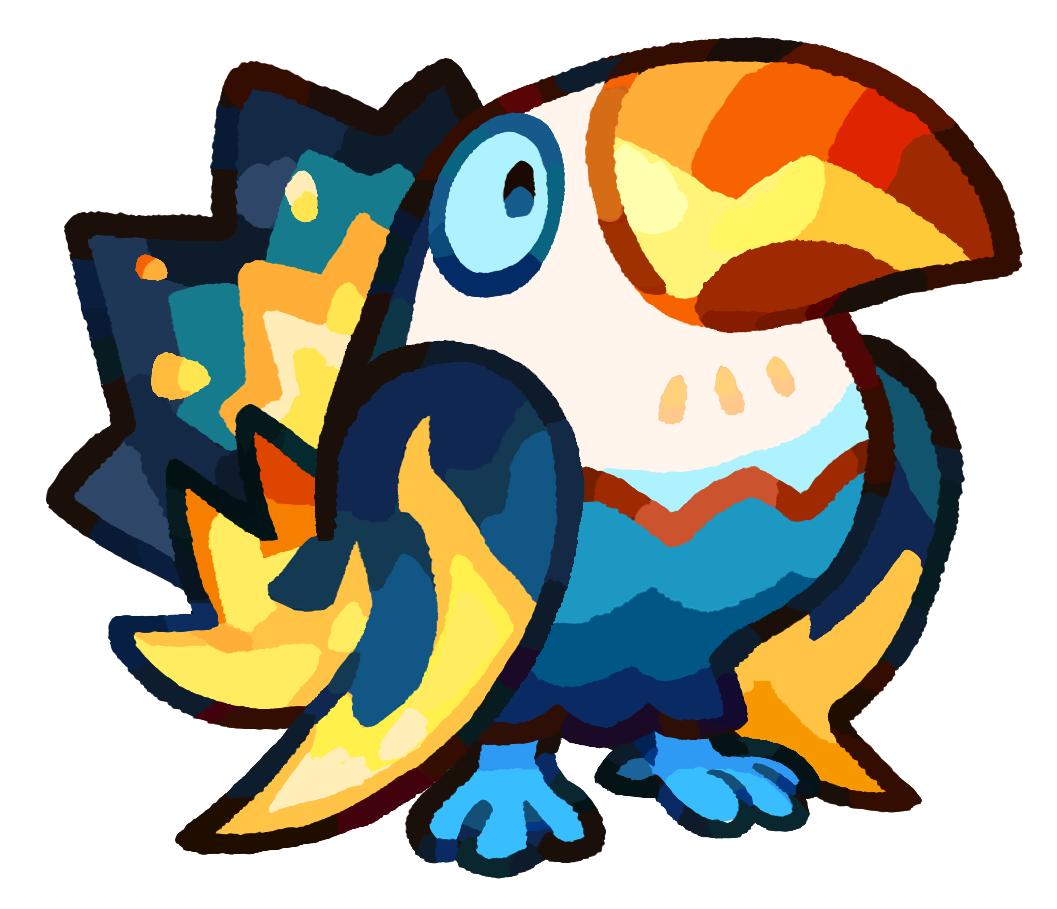 ToucanzamPurpleTank
The latest Horde changes removed much of its old advantage, and occasional Dojo use is not enough to keep it in B tier.
 FrugagonPurpleDPS
Falls behind stronger T3 damage options; avoid heavy spending unless the roster specifically needs Grass coverage.
 DonscarabPurpleSpecialist
Formation-specific specialist utility is usable, but it rarely beats a direct carry or frontline upgrade.
 LilypoTank
Pink Shield and self-recovery can hold a lane, but its overall impact has fallen behind the better Rock tanks.
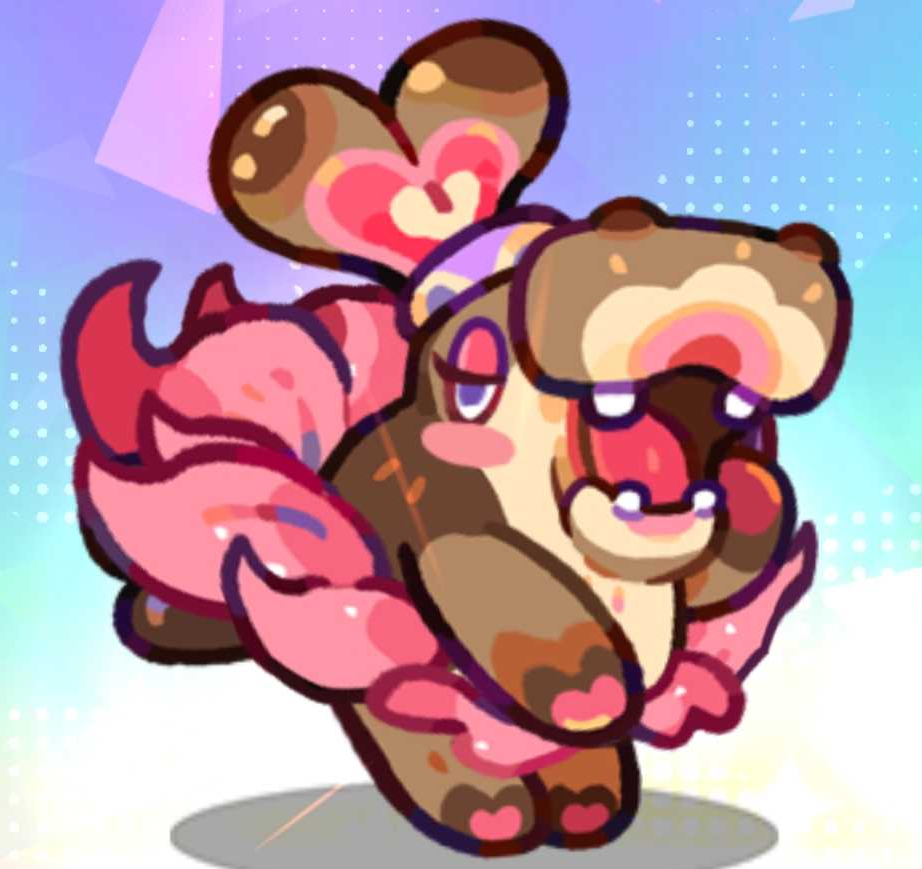 GemmapoTank
Pink Shield recovery and extra damage into Frail targets can stabilize a specific Rock lane, but it needs too much setup for a higher rank.
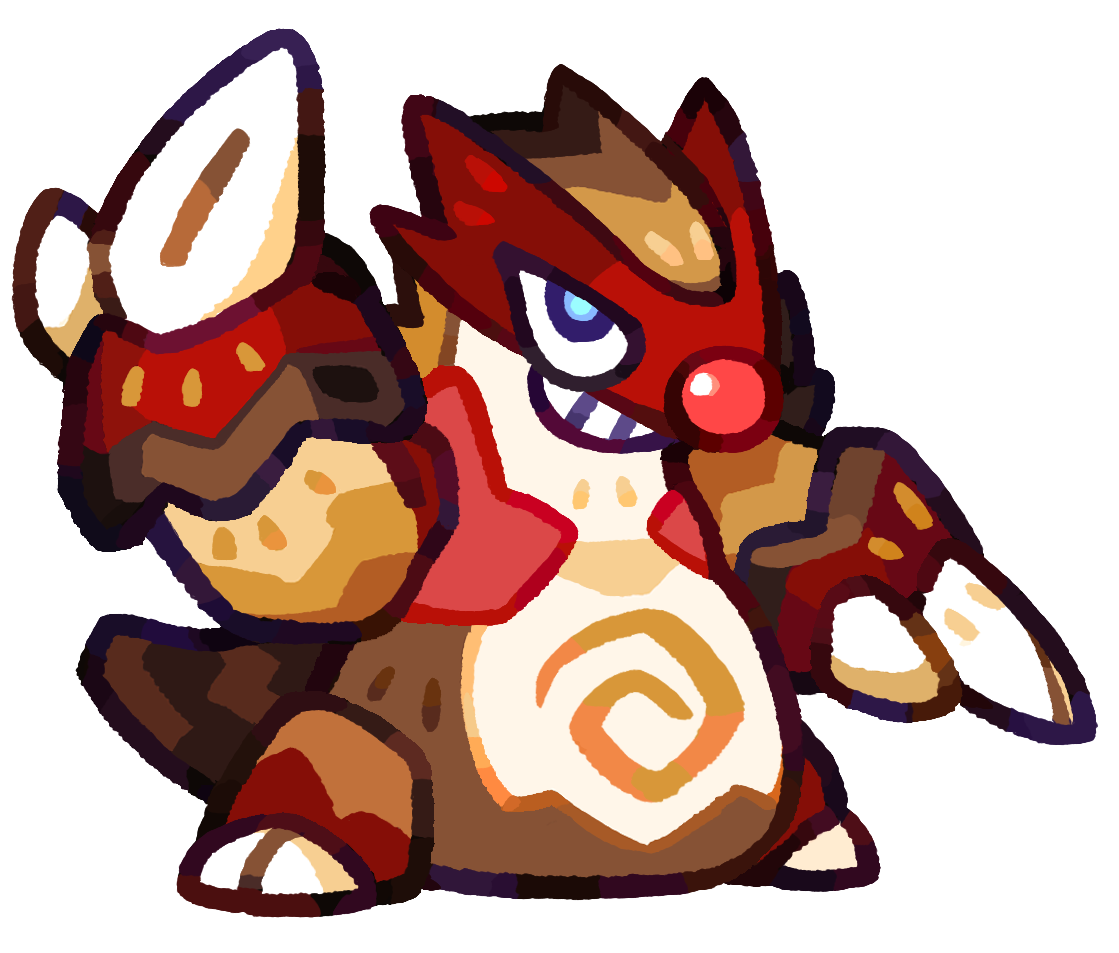 BorelordSpecialist
Wide Knockback, Stun, and Shredded can solve positioning problems, but the Specialist slot remains a niche endgame choice.