Clash of Critters T2 Tier List
The Best T2 Tatari Skill Spikes
Ranked T2 Tatari for healing, control, frontline stability, and upgrades that actually change a fight.
Updated T2 Skill Spike Tier List
T2 skill-spike ranking focused on healing, fragile/slow utility, frontline stability, and which mid-stage forms are worth testing before deeper investment.
 CheerletSupport
Huge T2 support priority thanks to adjacent healing plus attack and defense boosts.
 BubbitPurpleDPS
Very strong T2 control pick because mist pressure can apply Slow and Fragile.
 CobbledonPurpleTank
Rock tank bridge into stronger Rock frontline value.
 PyrohoundPurpleGuardian
Fire Guardian and important path toward Hellhound.
 ElectroarPurpleGuardian
Lightning Guardian for frontline control.
 SparkdoePurpleDPS
Lightning DPS with piercing and paralysis value.
 StalkerixPurpleTank
Grass tank for lanes that need survival.
 SealoonPurpleDPS
Water DPS utility with strong T2 value.
 IgnisnapPurpleDPS
Fire DPS for teams short on damage.
 FrostpawPurpleDPS
Water slow DPS for safer lane control.
 SnapshadeGoldDPS
Three venomous seeds add useful spread pressure, but placement matters if you want the poison to cover more than one target.
 FirecoilTank
Fire support/tank line with useful boost value; worth raising when your frontline and support needs overlap.
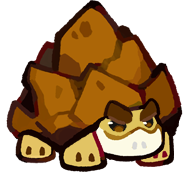 TurtuffPurpleGuardian
Rock Guardian for lanes that need durability.
 RockfuPurpleDPS
Rock DPS bridge toward the Rockong project.
 SynthhogSpecialist
Lightning Specialist for teams that need tech value more than raw damage.
 PandarootDPS
Panda-line bridge for Grass damage and support setups.
 SulfunkDPS
Status/AoE Fire DPS that pairs well with setup and clustered enemies.
 FrugatoadPurpleDPS
Grass DPS for broad element coverage.
 JarachnidTank
Grass tank for formation-specific survival.
 FirefoxDPS
Fire DPS bridge.
 OspiscesTank
Situational pull-in utility helps with specific positioning problems, but it is not a default upgrade.
 RattlecoilDPS
Rock DPS bridge with better long-term value if the later line fits your roster.
 KitjitsuGuardian
Specialized Fire Guardian for players who need a stronger defensive Fire lane.
 VoltmareRedDPS
Lightning pressure is useful at T2, though the line still wants more investment before it becomes a top carry.
 LulupoTank
A dependable mid-stage body with enough utility to patch a weak lane.
 CapobeetlePurpleSpecialist
Fun Specialist pick, but usually weaker than the best utility options unless the mode favors its adds.
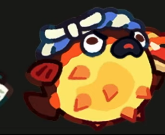 PuffbellySupport
Attack boost plus targeted healing starts to shine at T2; best when placed near allies that can use both.
 TikowlSupport
Better than it first looks; pairs well with setup tools and can justify testing in utility slots.
 SizzribbGoldGuardian
Burning AoE is worth testing at T2, but this line's bigger payoff arrives with Lickflicker's wider T3 attack.
 HippiehogGoldDPS
Kinesis Cage can hinder two enemies with movement and attack-speed pressure, but it is still one cage, so the T2 jump is useful rather than dramatic.
 PolarpawGoldTank
The fourth fish improves Snowcub's lane coverage, but Foodie Fragile and the same self-heal loop make this a modest evolution instead of a major T2 spike.
 CactobloomDPS
Grass DPS filler with lower upgrade priority.
 DazopusDPS
Water DPS filler with low upgrade priority.
 TrippetSupport
Low-priority Water filler; spend only when it closes a concrete gap in the roster.
 HumbleetleDPS
Rock DPS filler with lower upgrade priority.
 GrillhogSupport
Fire support filler for niche formations.
 PyroprawnDPS
Fire DPS filler with low upgrade priority.
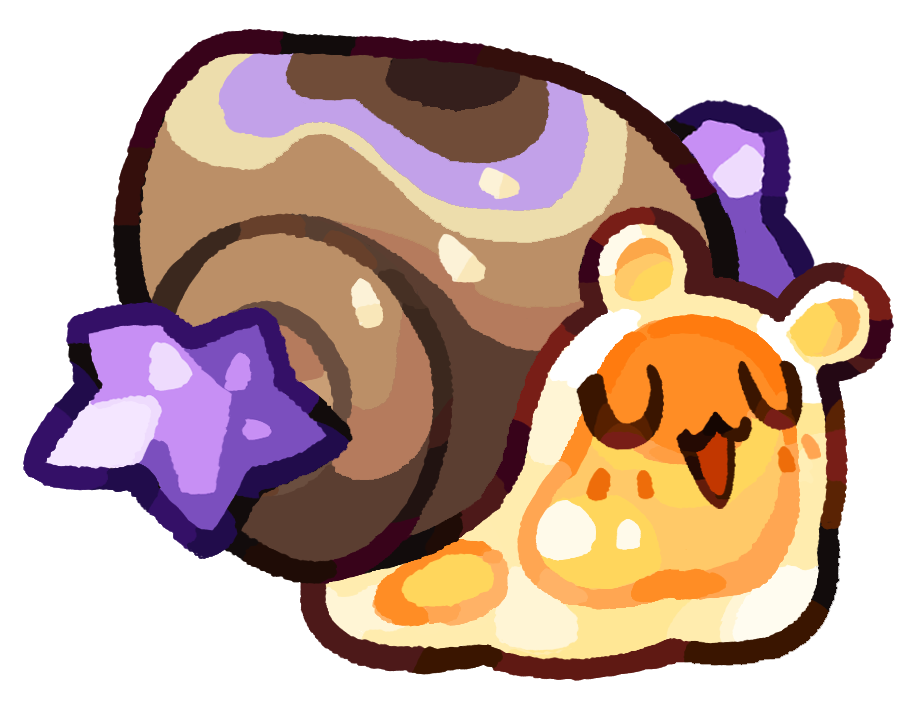 GemsnailDPS
Rock DPS filler with lower upgrade priority.
 NimbuzzyGoldDPS
Lightning DPS filler with lower upgrade priority.
 EmbertailBlueDPS
Fire DPS bridge with low priority unless your roster needs it.
 ClawzorGuardian
Water Guardian filler for defensive lanes.
 CapypapaBlueDPS
Water DPS filler with low upgrade priority.
 CluckerooBlueDPS
Easy stars and a direct heal shot make it useful when the roster needs cheap sustain, even if its ceiling is modest.
 VoltlingPurpleGuardian
A low-priority Lightning bridge; use it when star advantage matters more than raw kit strength.
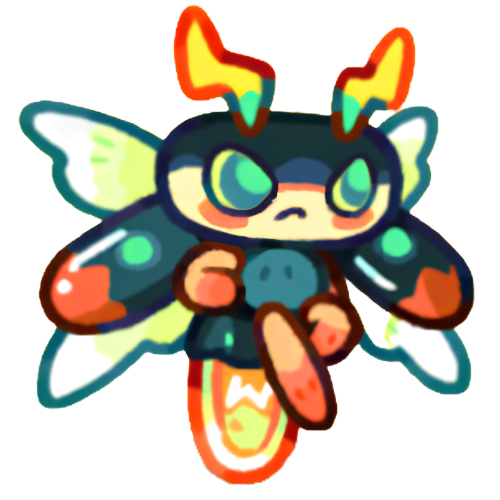 PhosflareGoldHealer
Static Shield protects one front-row ally and adds Paralysis when it breaks, but the narrow target coverage keeps it below broader supports.
 SwaystrollPurpleTank
A defensive Water option that can fill an uncovered lane, though it offers less impact than the stronger T2 tanks.
 WatchrooDPS
Useful specialist coverage for a stuck stage, but it needs the right target pattern to justify upgrades.
 CragolinSpecialist
Rock damage and control can patch a weak matchup, but stronger Rock projects scale better.
 SlobberlamaDPS
Bind and limited-range AoE are now useful enough for C tier, especially when enemies bunch up on one tile.
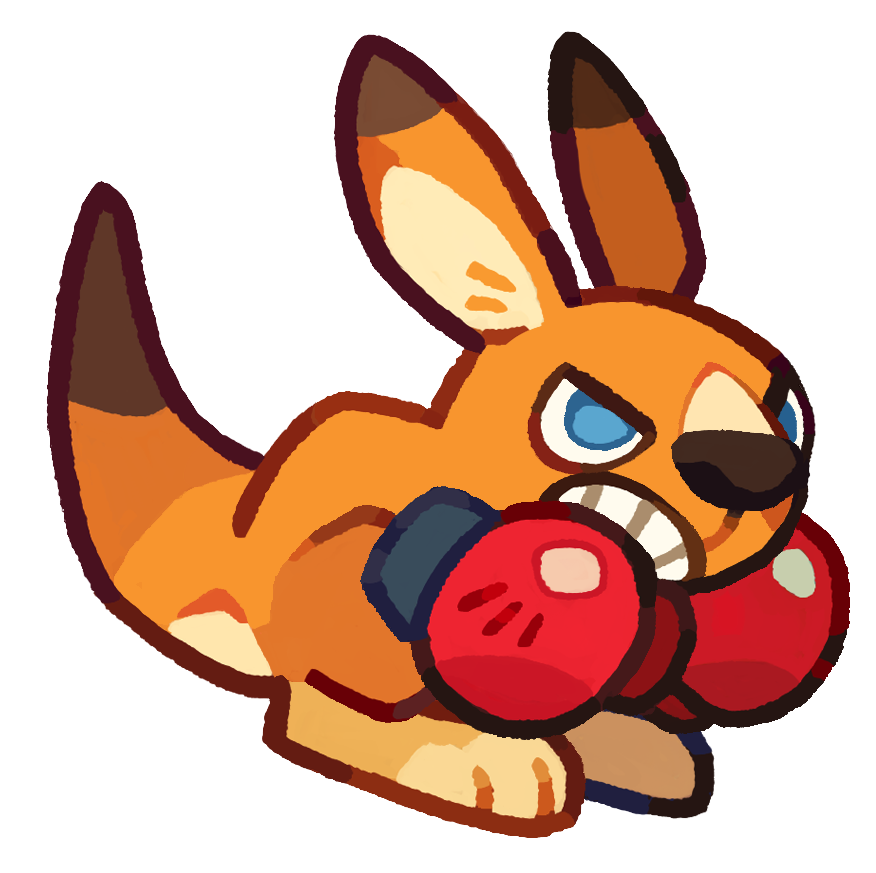 PuncharooGuardian
Its charged punches and Fragile setup now have a real Horde job, but weak chapter, Gold Rush, and boss value keep the T2 form in C tier.
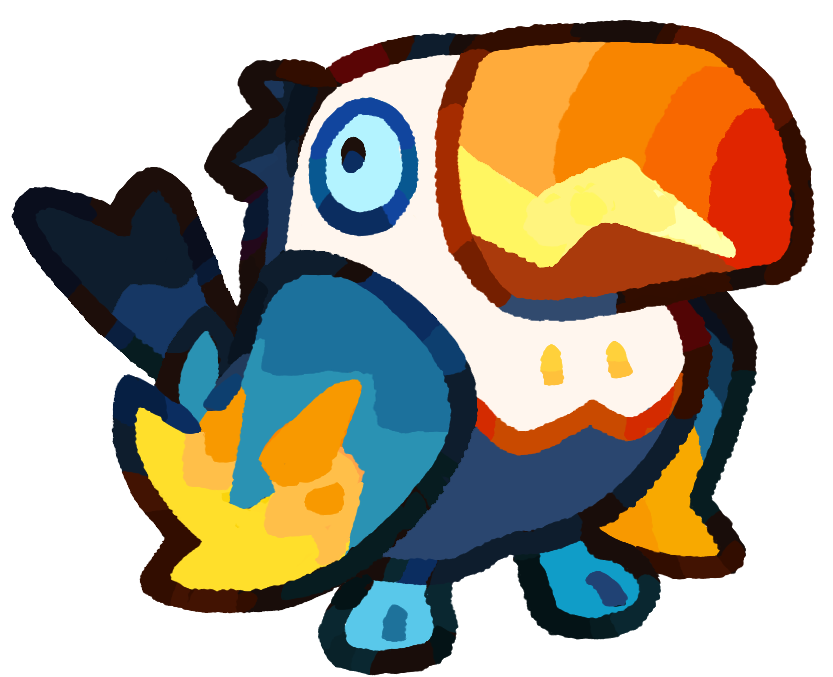 BuzzbeakTank
Charged damage reduction and linked attack boosts still help a defensive setup, but reduced Horde value and limited use elsewhere move it down to C tier.