Clash of Critters Horde Invasion Tier List
Horde Invasion Season 1 Role Tier List
Build a Horde formation by job: one must-pick support, durable tanks, focused DPS, control, flex tech, and tested alternatives.
Horde Invasion Season 1 Role Tier List
A role-first Horde ranking built from Season 1 creator testing, high-difficulty formation notes, and the jobs each Tatari must cover.
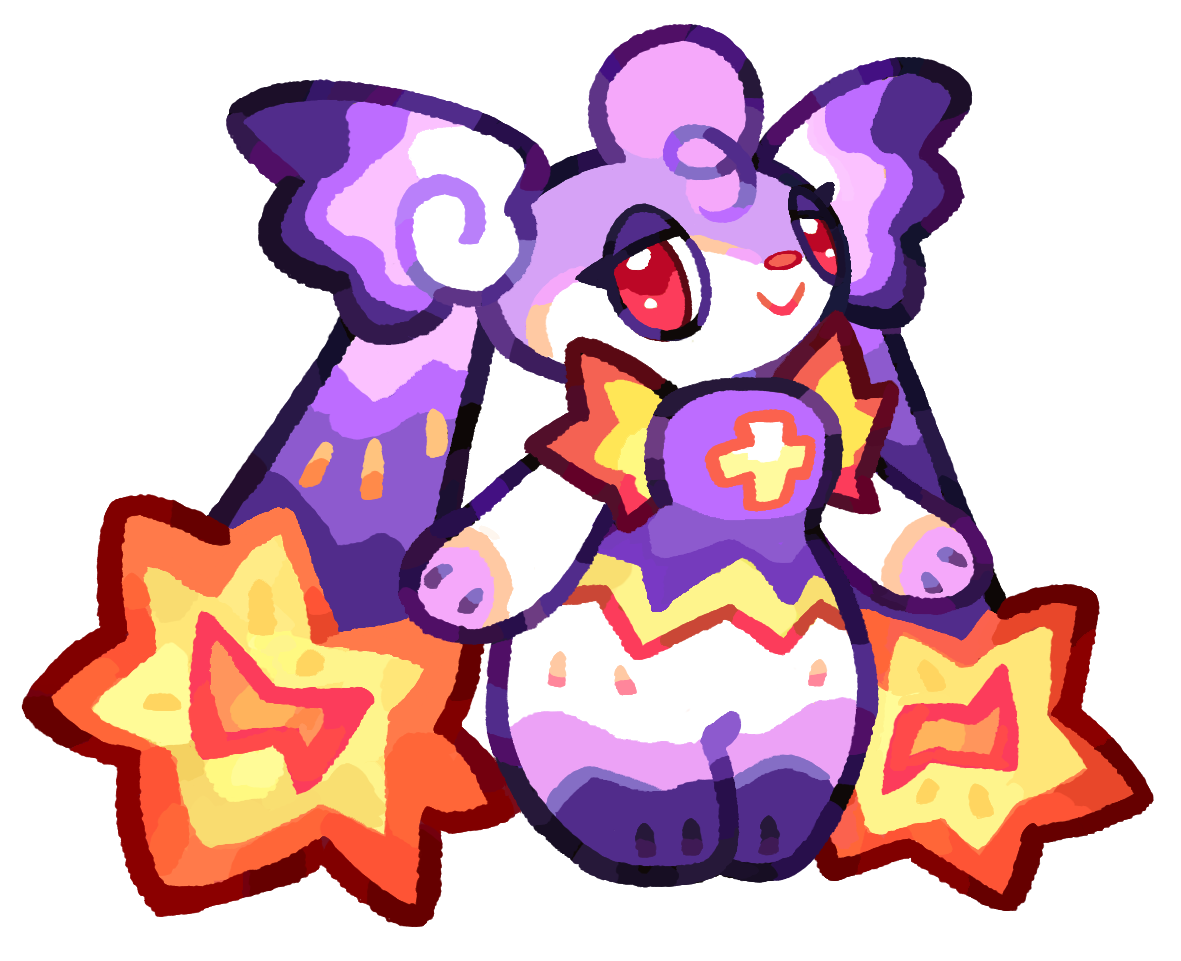 CheerspringSupport
Aim for Lv.5: the emergency Invincibility plus ATK and DEF boosts still holds the whole formation together when later waves start deleting frontliners.
 DreadclawGuardian
Run one on the far-left edge so its claw path crosses the board. Self-healing, shielding, Knockback, and the diagonal Lv.7 sweep give it real damage without giving up the tank slot.
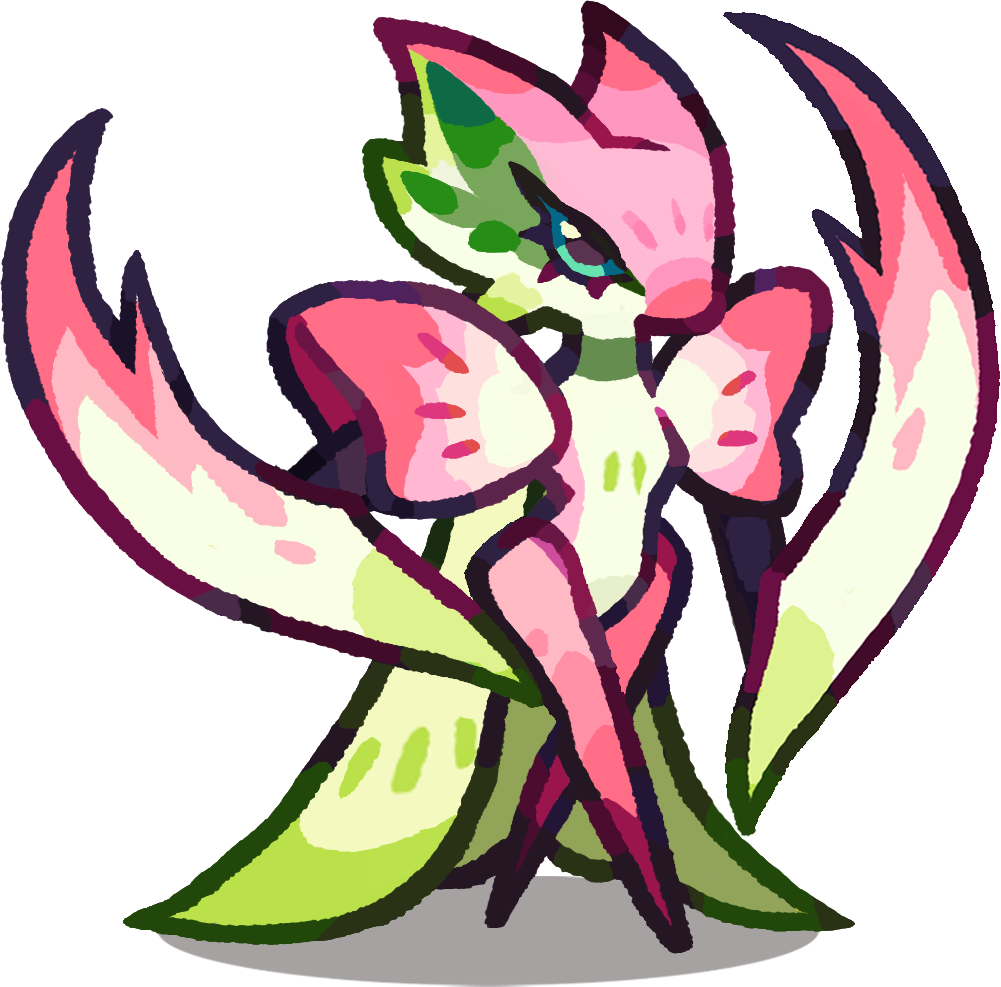 SerrabloomPurpleTank
One of the safest Worm answers: it heals itself, applies Fragile, throws extra projectiles when healed, and turns Lv.7 into a three-lane damage tool.
 BlitzmanePurpleGuardian
A sturdy mixed-role frontliner with team damage support and Knockback. It survives first contact while helping the rest of the row finish dense waves.
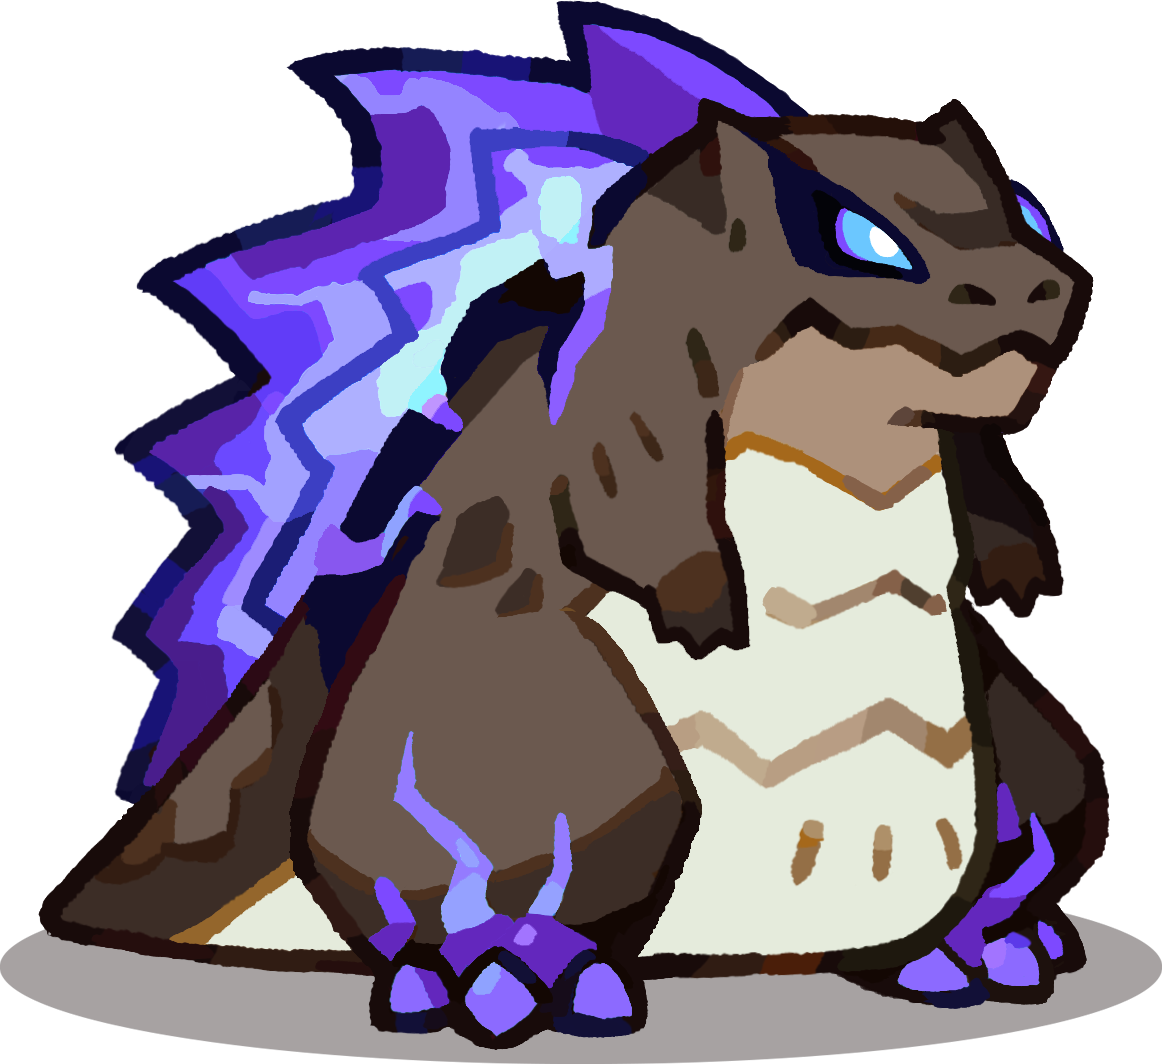 RockzillaPurpleTank
Its self-shield fixes the usual tank survival problem, while three-lane damage, the full-board beam, and Stun keep it useful after the first clash.
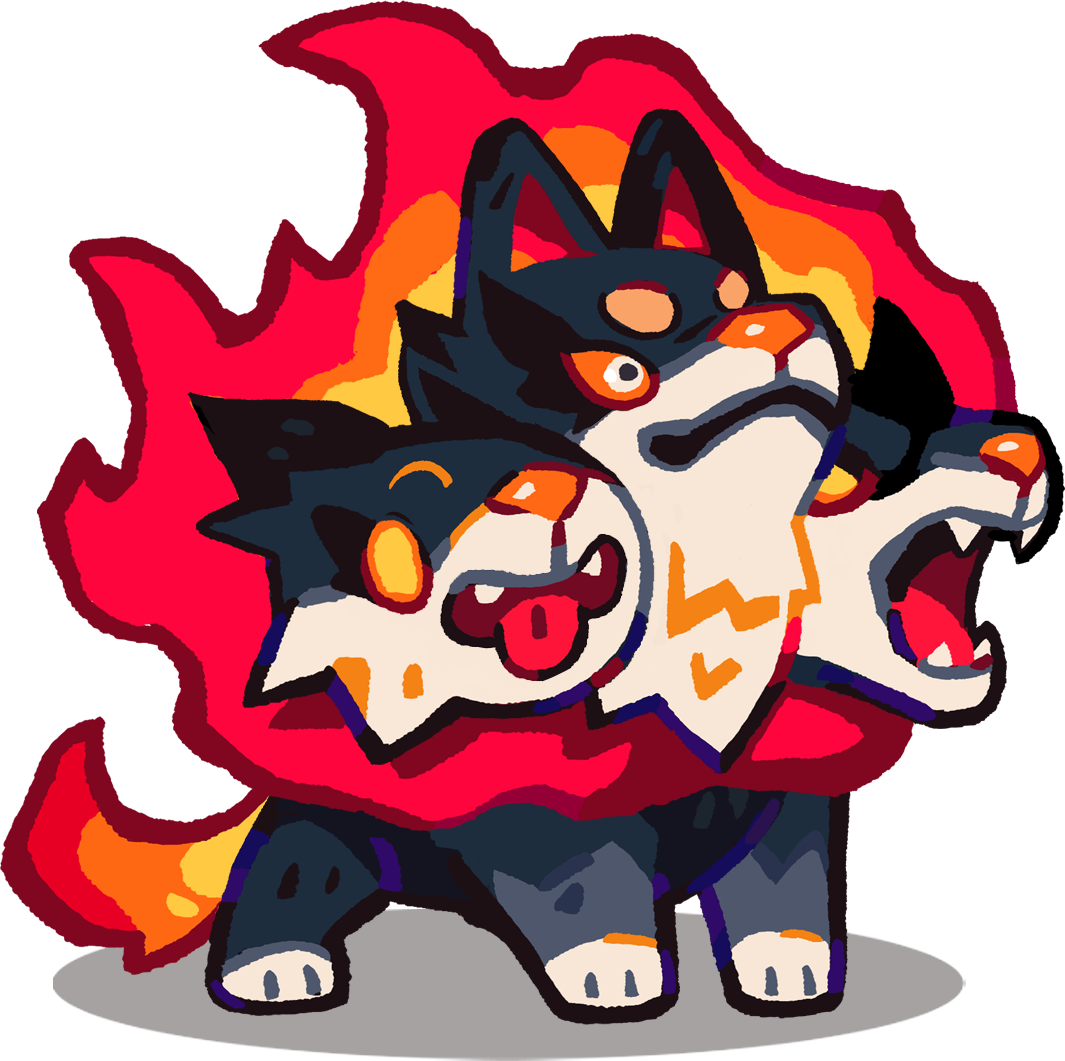 HellhoundPurpleGuardian
Weak is the reason to field it: the debuff cuts dangerous boss damage, and its own frontline output stays high enough that the slot never feels wasted.
 LickflickerRedGuardian
Wide AoE, Stun, Burn, and Slow make this a current Horde workhorse. Move it near allies before the big cast when you need its nearby boost to hit the right cluster.
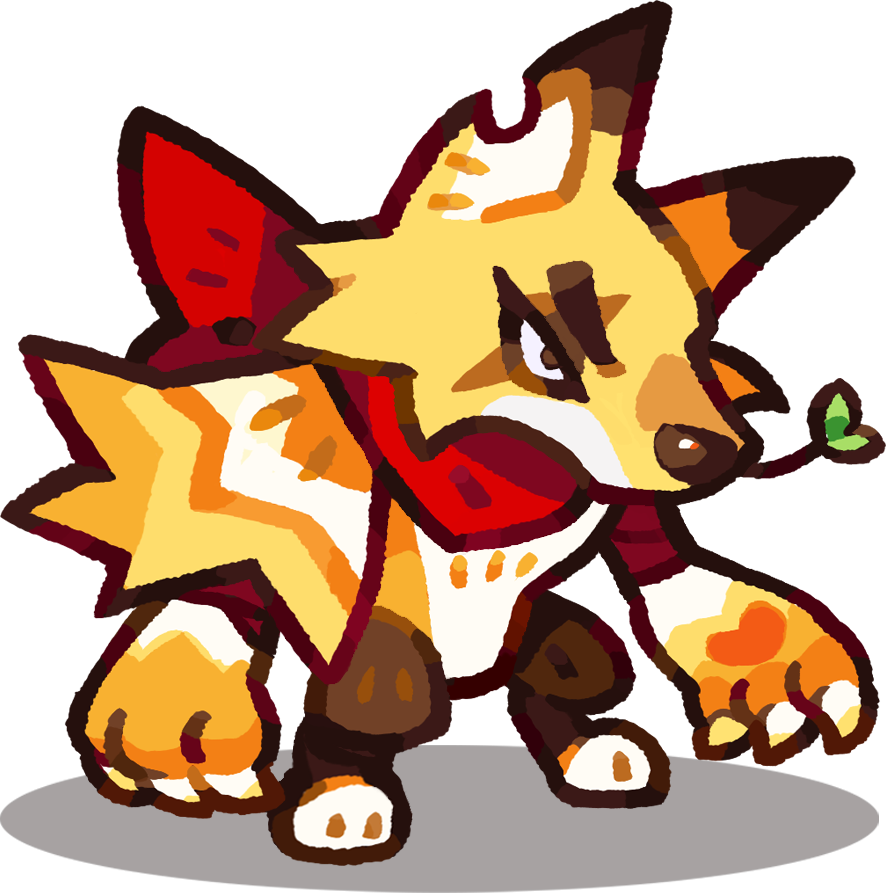 VoltverinePurpleGuardian
Blinking attacks create survival windows while Paralysis and broad AoE keep pressure on crowded lanes. It needs more investment than the safest tanks, but the payoff is real.
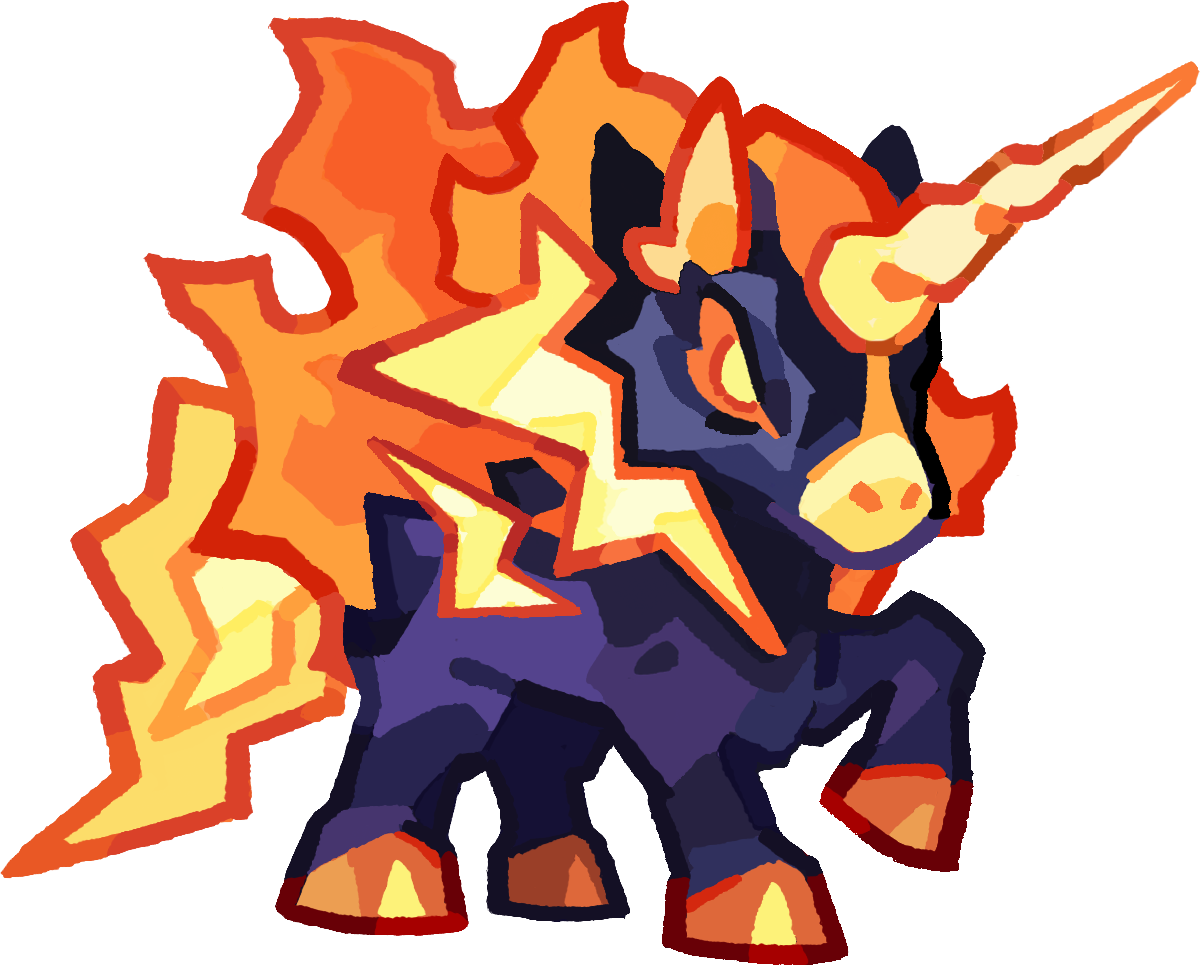 VoltmareRedDPS
Automatic chain targeting keeps damage on useful enemies without babysitting the lane. It also dodged the nerf that pushed the deer option below it.
 SeaswirlPurpleDPS
Strong Water multipliers, Weak, and Knockback add both damage and survival. Pick it when bosses hit too hard for a pure glass-cannon slot.
 AzurionPurpleDPS
The balance buff lets three-lane Burn trigger repeated fire-orb follow-ups. In a lane that keeps several targets burning, it can outpace Voltmare instead of merely matching it.
 SolafloraHealer
Healing plus ATK and DEF support is enough at Lv.1, with Lv.3 adding the useful shield. Save Candy for tanks unless a chip makes higher levels cheap.
 HyphoriaSupport
Its T3 package adds Fragile, attack speed, and damage reduction. One copy normally covers the job, leaving the second mid slot open for a different support.
 CharflutterTank
The Lv.7 nerf matters less in Season 1 because Candy is tight anyway. Earlier levels still provide healing, ATK support, and Fragile when the team needs more sustain.
 TideonPurpleDPS
Slow and Fragile remain valuable even after the Super Fragile reduction. Use it to make packed lanes safer, not as the formation's main Water damage dealer.
 WaveflutterDPS
Sleep still interrupts the waves that would otherwise overwhelm a tank. Lv.1 often covers the control job, so it fits formations that cannot spare much Candy.
 SonarbatSpecialist
Fragile and team damage amplification still matter, but the current pattern is one Sonarbat swapping with another support instead of spending two slots on the old double swap.
 ChronervaSupport
Healing, Slow, Stun, three-lane damage, and displacement let it fill a bad draft. Stop at Lv.3 for support or push Lv.7 only when it must become a damage slot.
 ThornwispRedDPS
Poison and Bane stacks focus bosses instead of padding wave damage. It already works at T2, which makes it an efficient answer when the Worm is the real blocker.
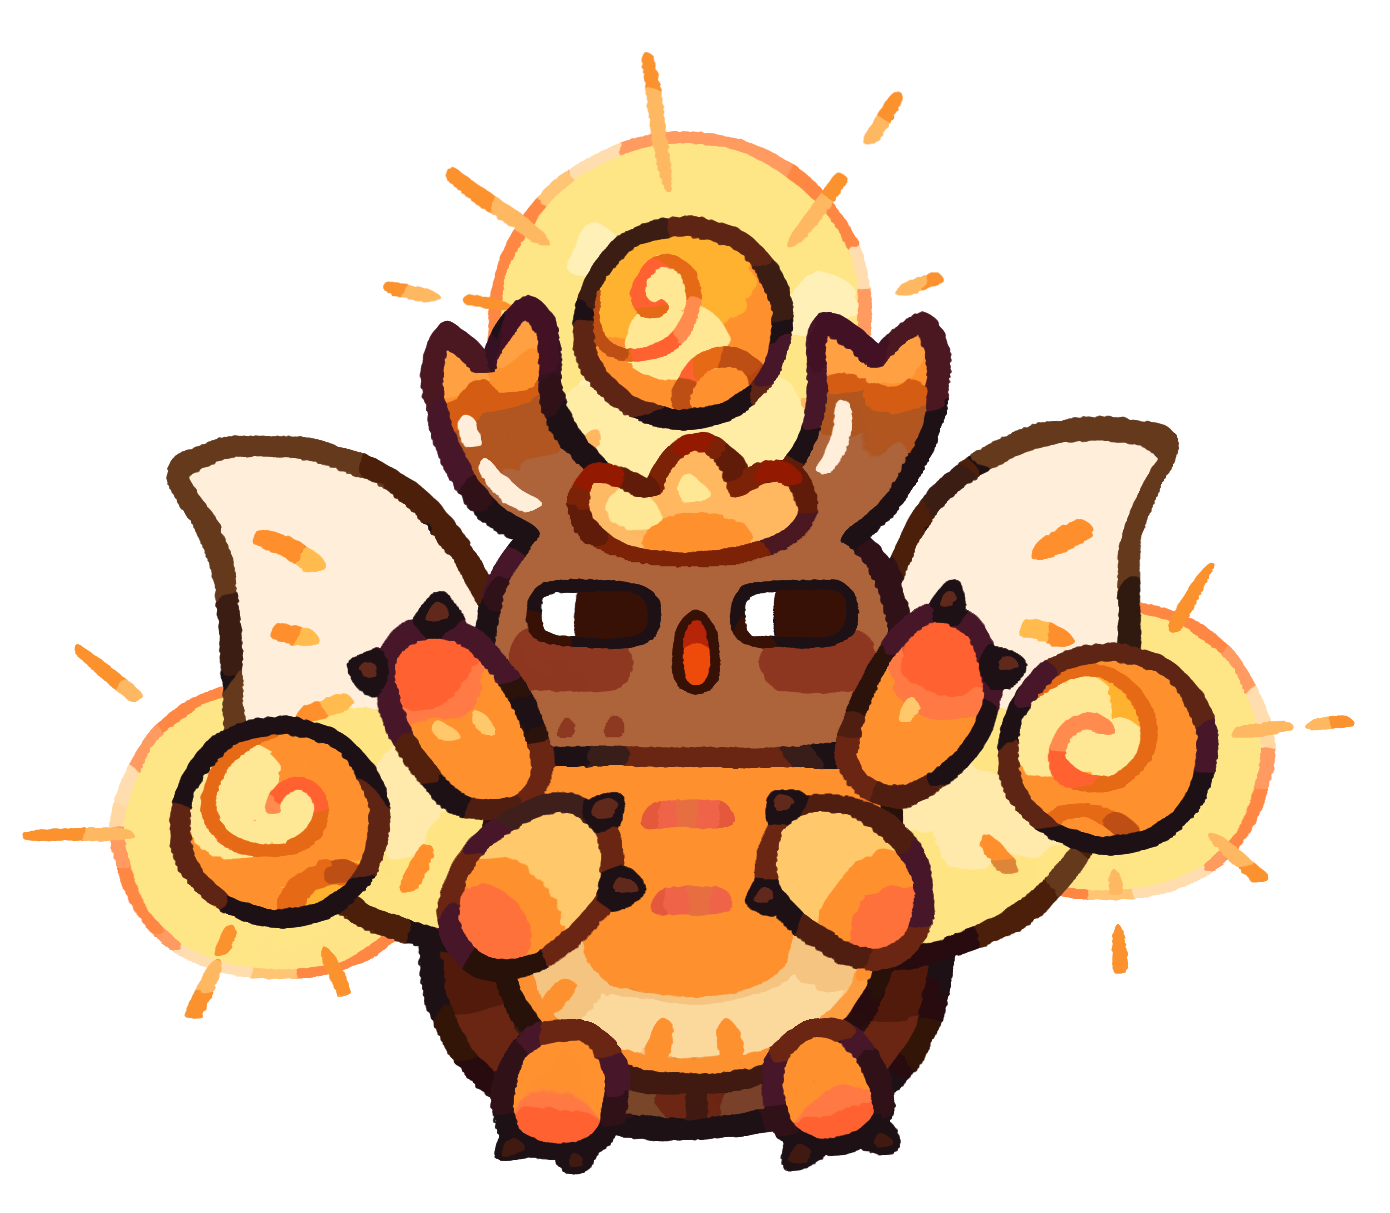 ZenscarabDPS
The vortex can hold or pull bosses into the formation's kill zone while adding respectable damage. Bring it when control matters more than another plain DPS card.
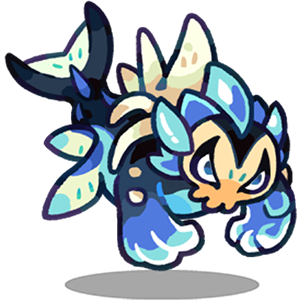 ArmorjawTank
This is the Maskfry tech pick: pull bosses closer, stack Weak and Fragile, shield itself, then add Stun. Its strange placement rules are worth learning for hard Worm runs.
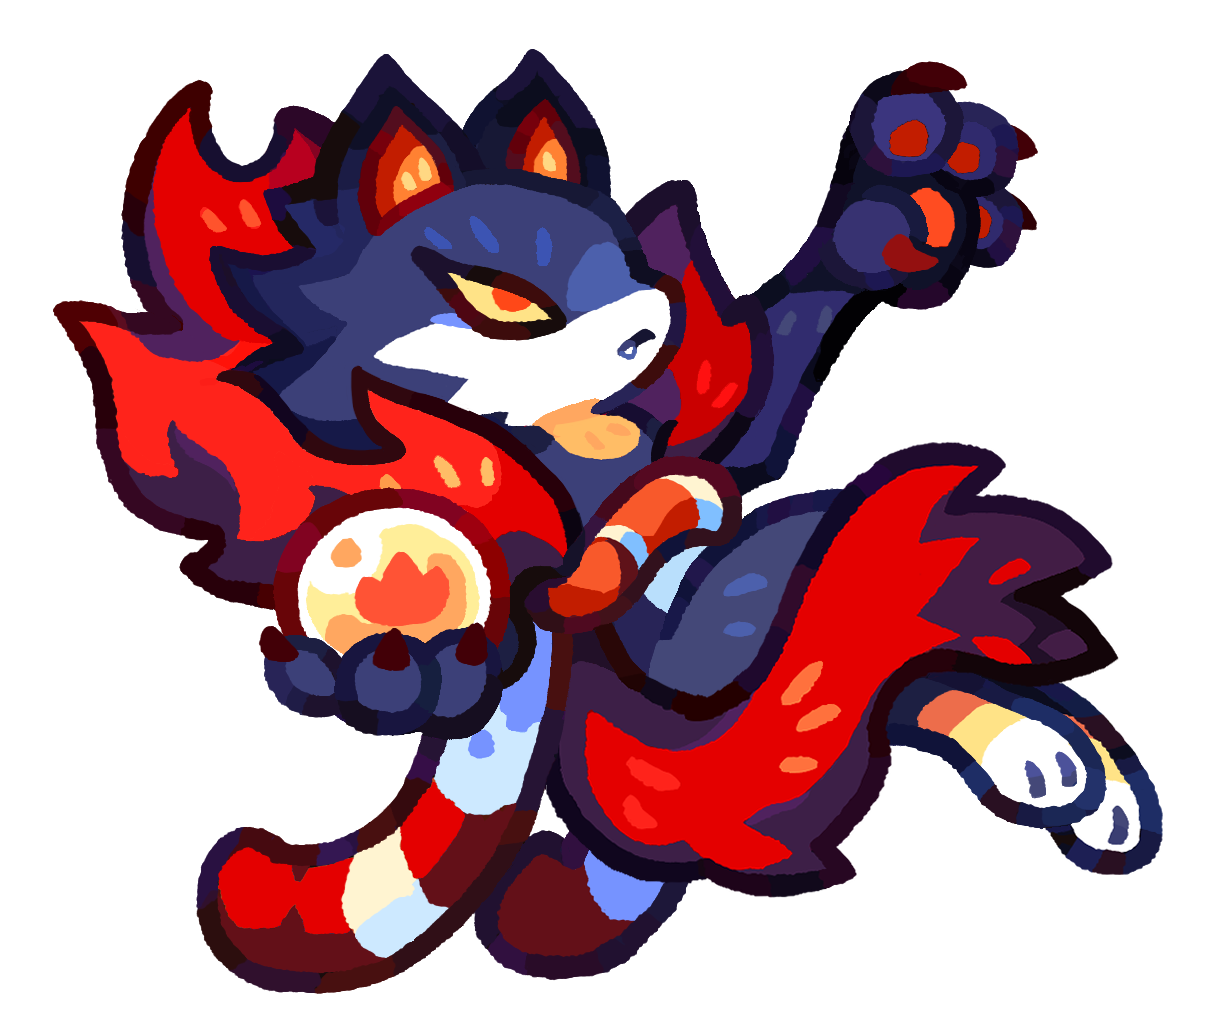 SilversearDPS
Fire Cat tech changes the whole run by granting the team an ATK boost and adding Weak. Lv.3 is the practical stop, with Lv.5 reserved for a Candy-friendly draft.
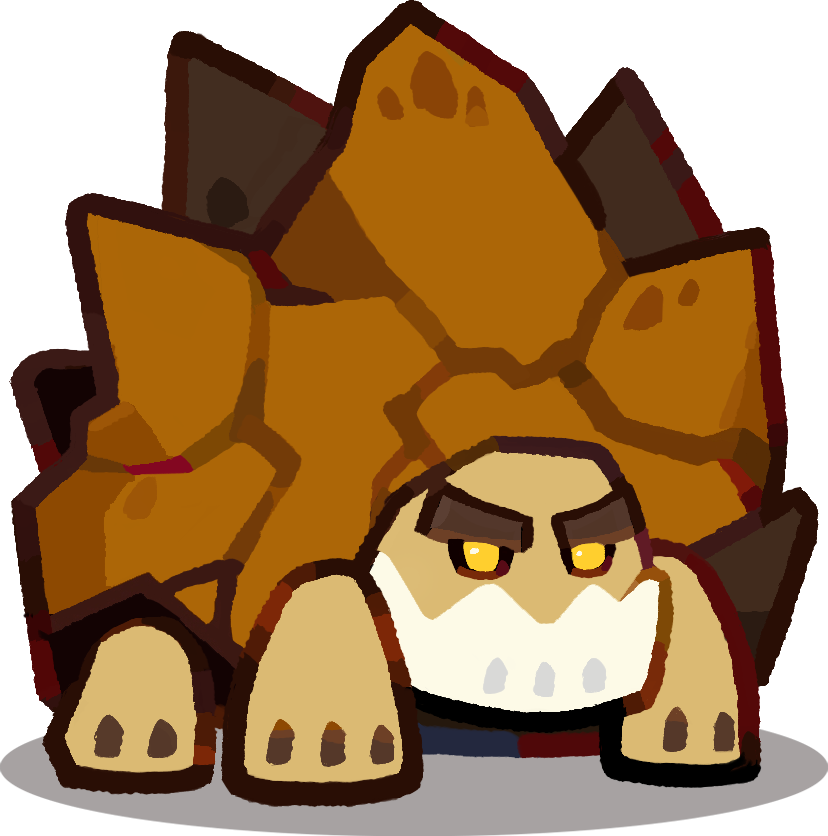 RockshellPurpleGuardian
Piercing damage and a bouncing shield help against Lightning pressure, but its random coverage makes it less dependable than the core tanks.
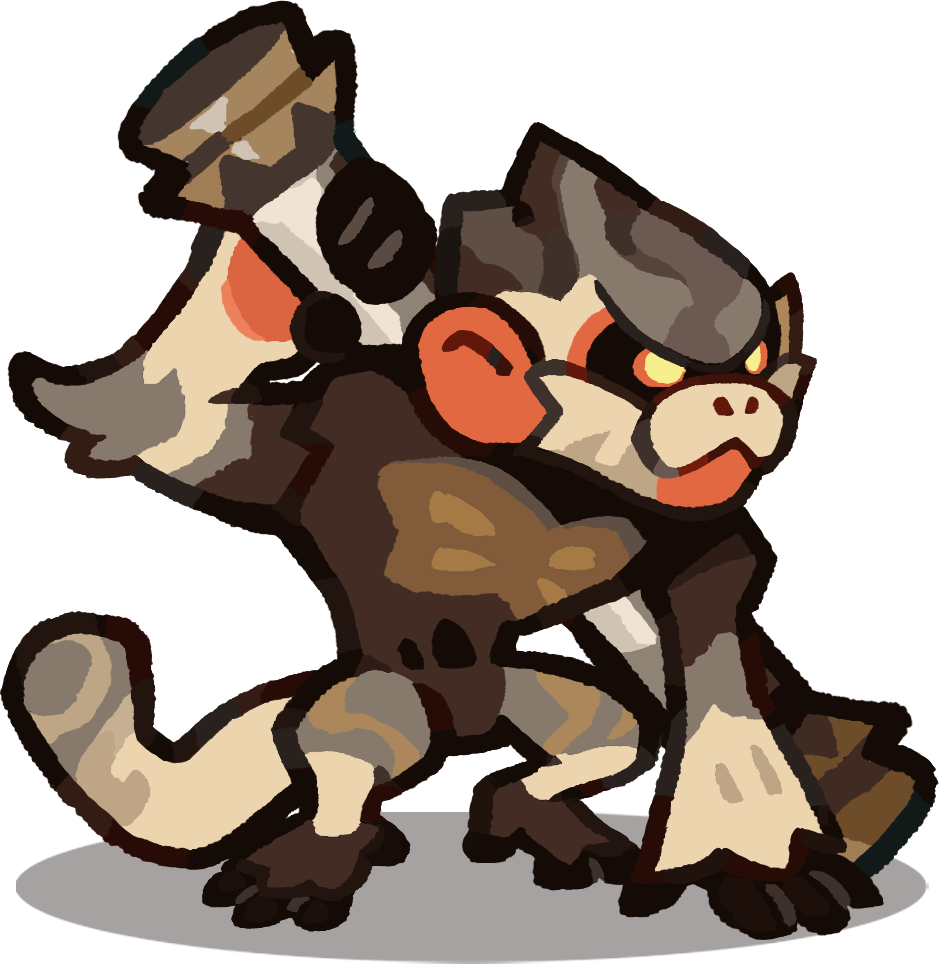 RockongPurpleDPS
Clones can absorb hits and block projectiles, which stays useful through D1-D3. D4 damage exposes its lower durability, so do not treat it as the default frontline.
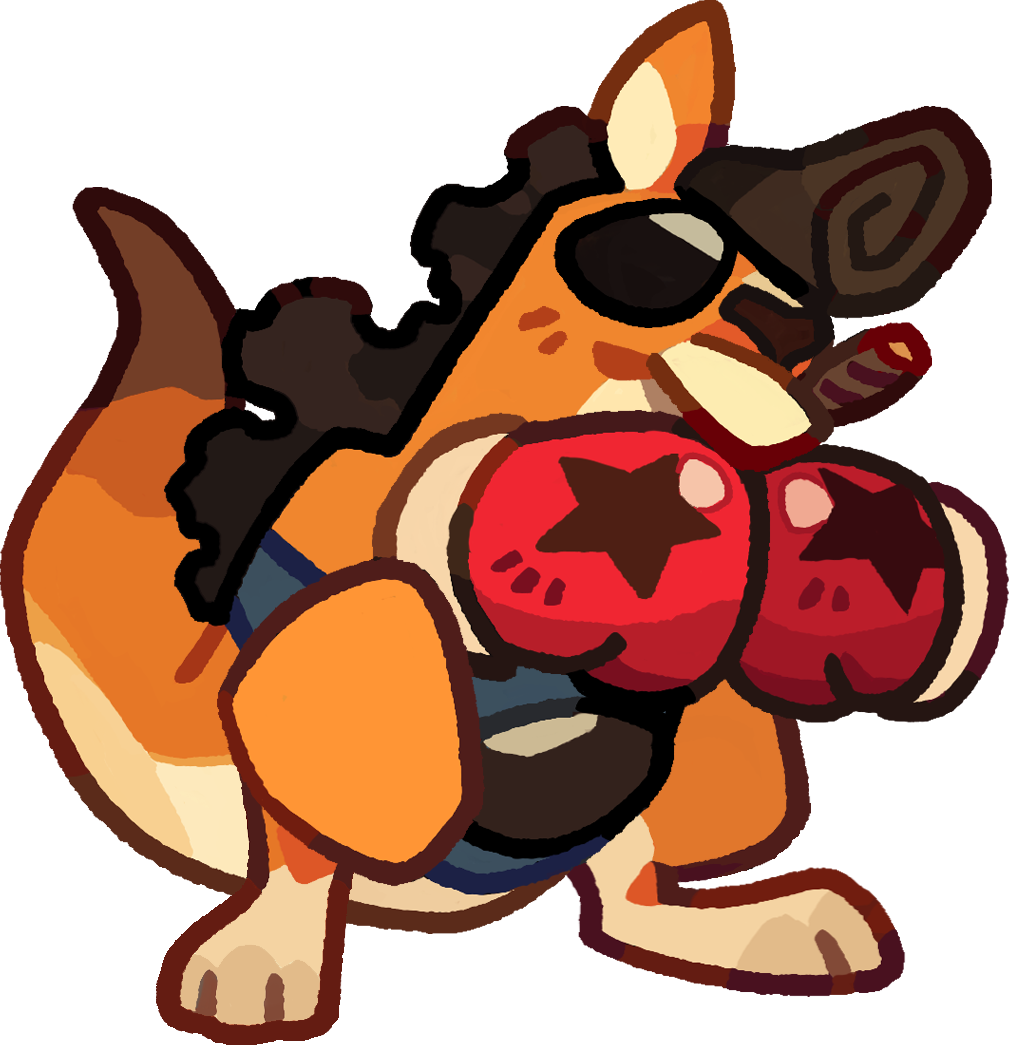 KangachampGuardian
Recent buffs turned it into a real tank-damage option. It still trails the core because many accounts lack the stars and food needed to show that improvement.
 BlizzgrizzRedTank
Piercing fish and emergency recovery can rescue a nearby ally, but Fragile and limited high-difficulty testing keep this Water tank in the alternative group.
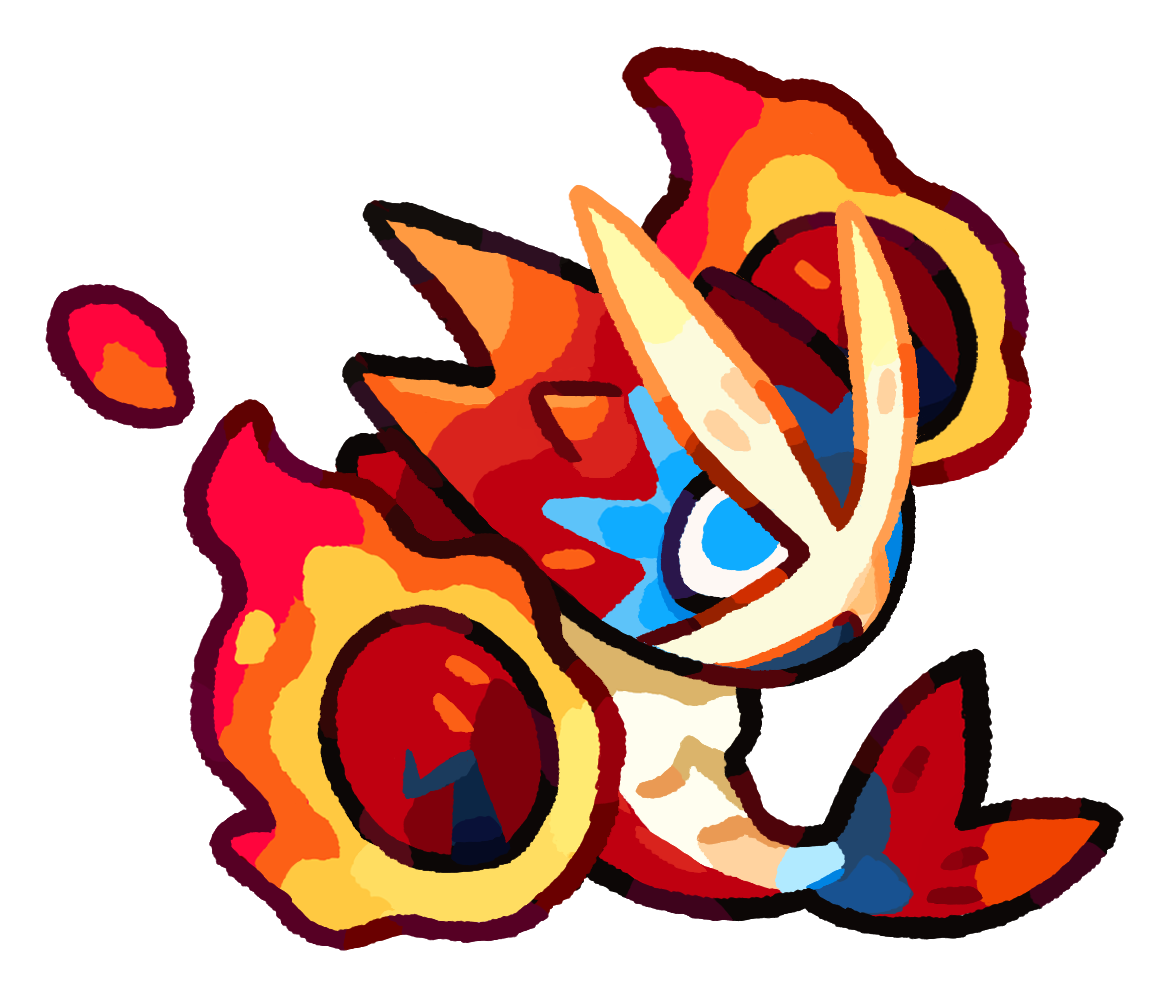 PyroclobsterDPS
Its Fire damage is solid, but Horde gives you very few pure-DPS slots and Azurion brings more current-meta value to the same competition.
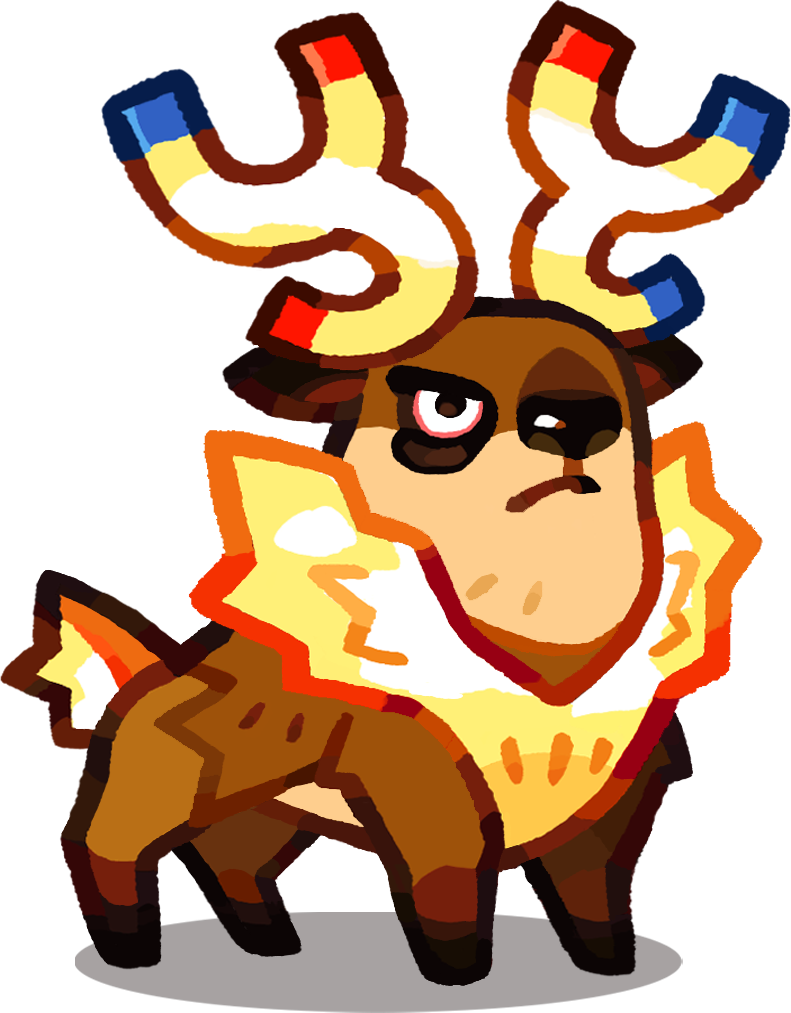 ZapantlerPurpleDPS
Still a strong damage dealer, just no longer the automatic Lightning pick after its nerf and Voltmare's better automatic targeting.
 FrostiquePurpleDPS
Spread, Slow, and Freeze make it useful control damage. It loses priority because Seaswirl covers Water damage while also helping the frontline survive.
 GalewetherDPS
The damage numbers hold up, but it does not add the Weak, control, or survival utility that earns a scarce core DPS slot.
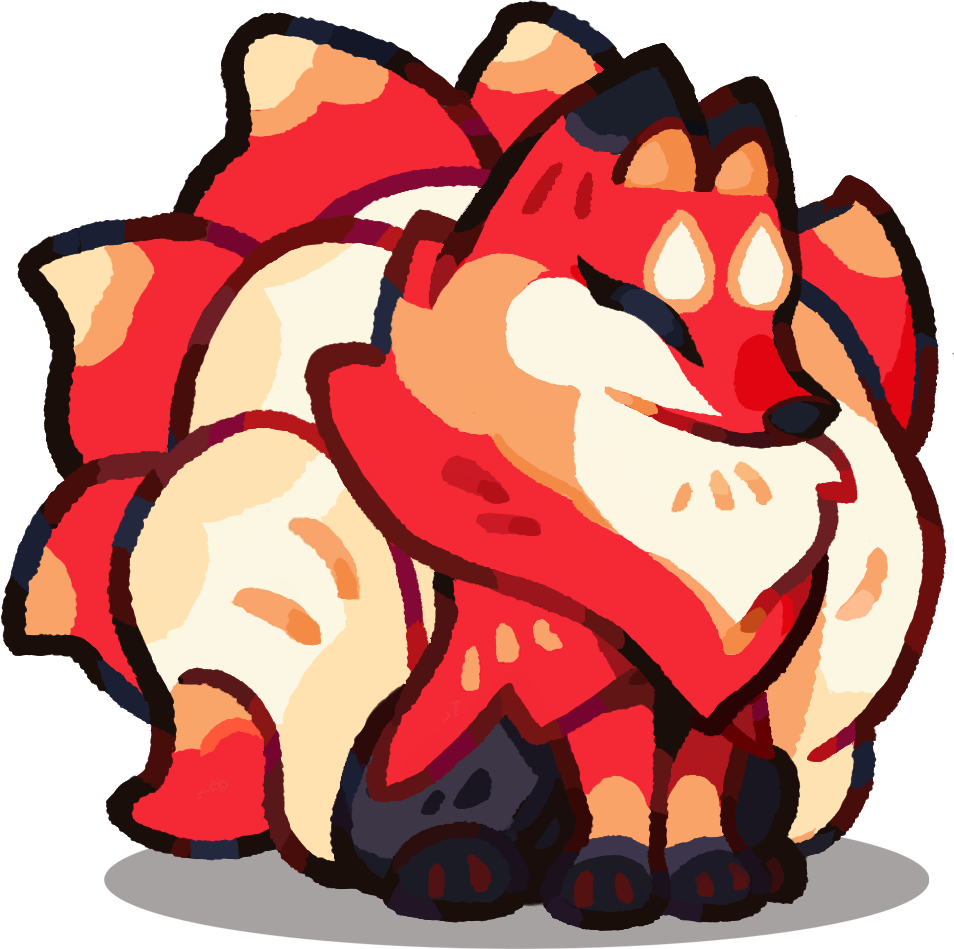 FlarevixPurpleDPS
A powerful Fire carry in isolation. Azurion's buffed orb chain fits crowded Season 1 lanes better, so Flarevix becomes the fallback instead of the first lock.
 WheekrollerRedDPS
It can produce respectable Lightning damage, but the formation usually gains more from Voltmare's targeting or a support that protects the tanks.
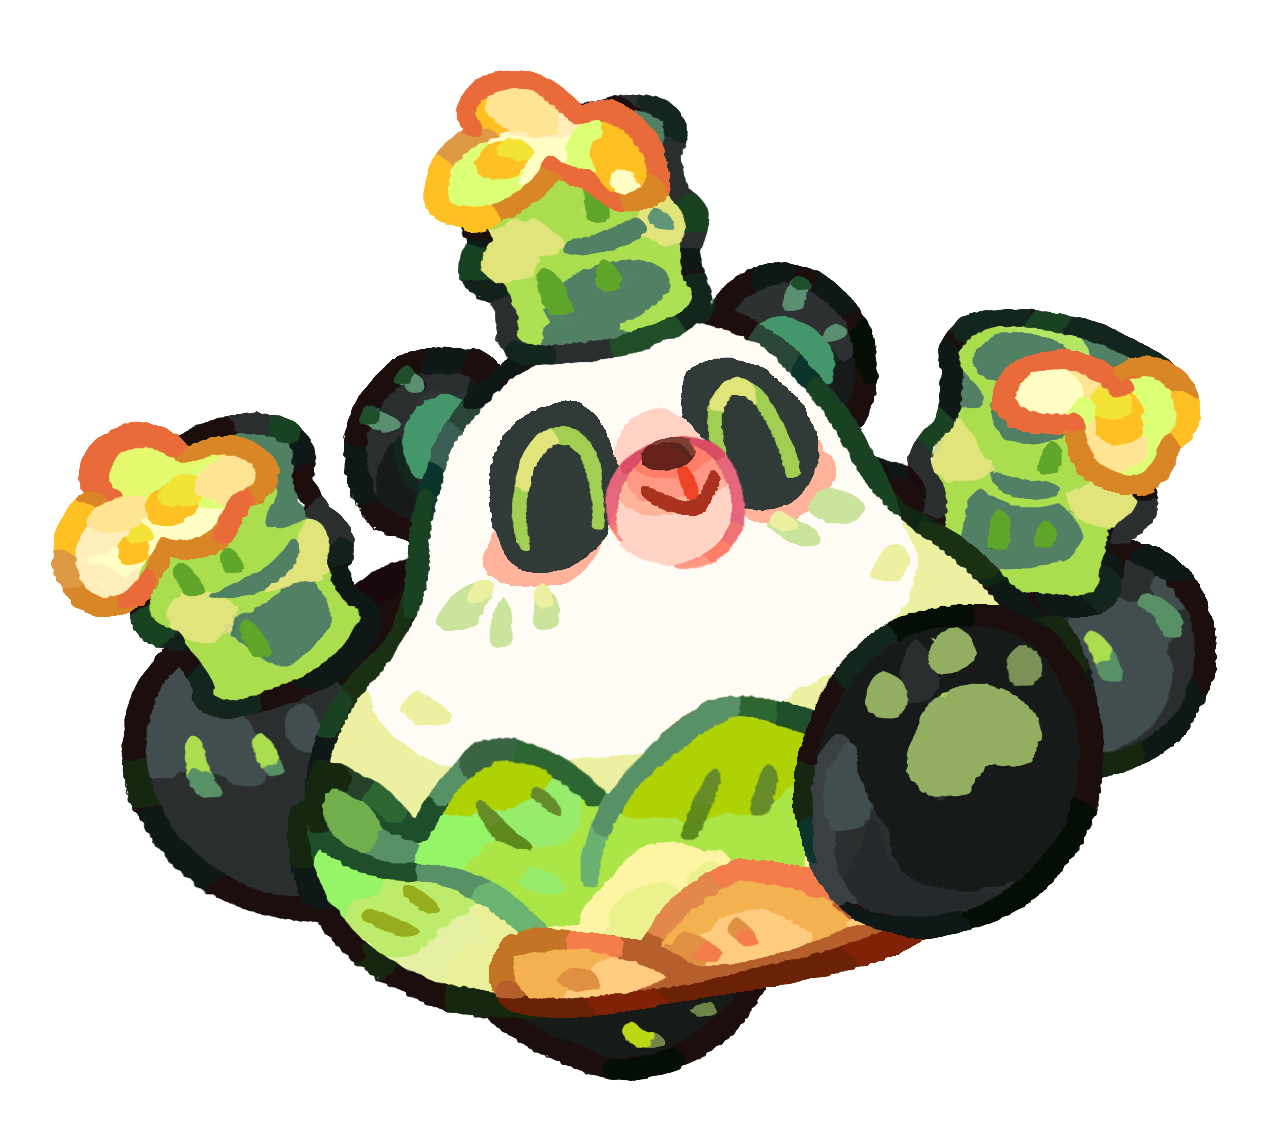 PandarriorDPS
Slow and team boosts remain useful, but its best payoff asks for Lv.7 at a time when tanks and core supports already consume most of the Candy.
 PhosflareGoldHealer
Shielding and Paralysis give the Glowfly line a real support job. The coverage is narrower and the high-difficulty sample is smaller than the core support group.
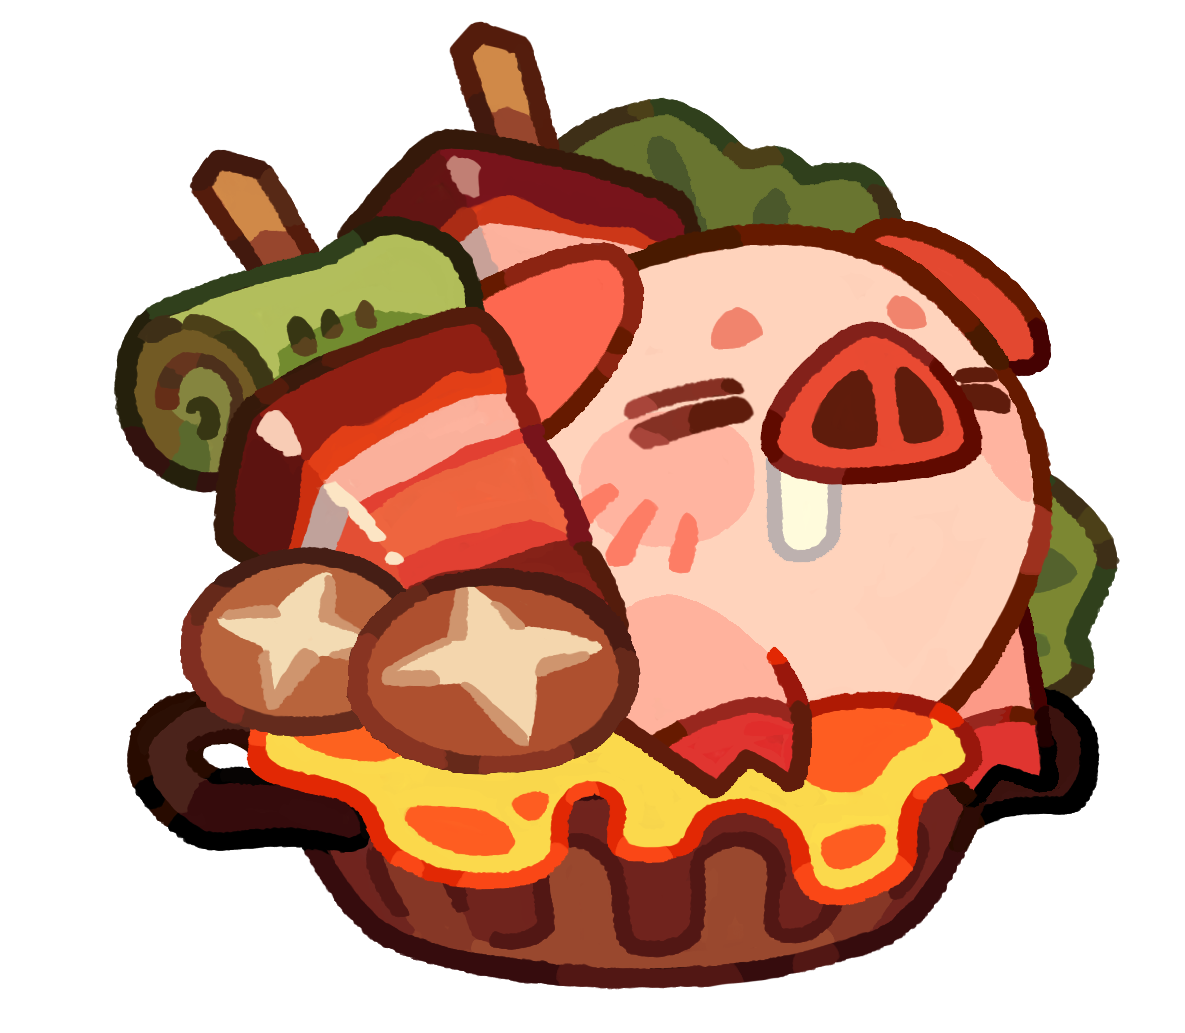 HothogSupport
Healing and support still work after the nerf, especially when Waveflutter needs the back slot. Its weaker ceiling makes it a formation fix rather than a staple.
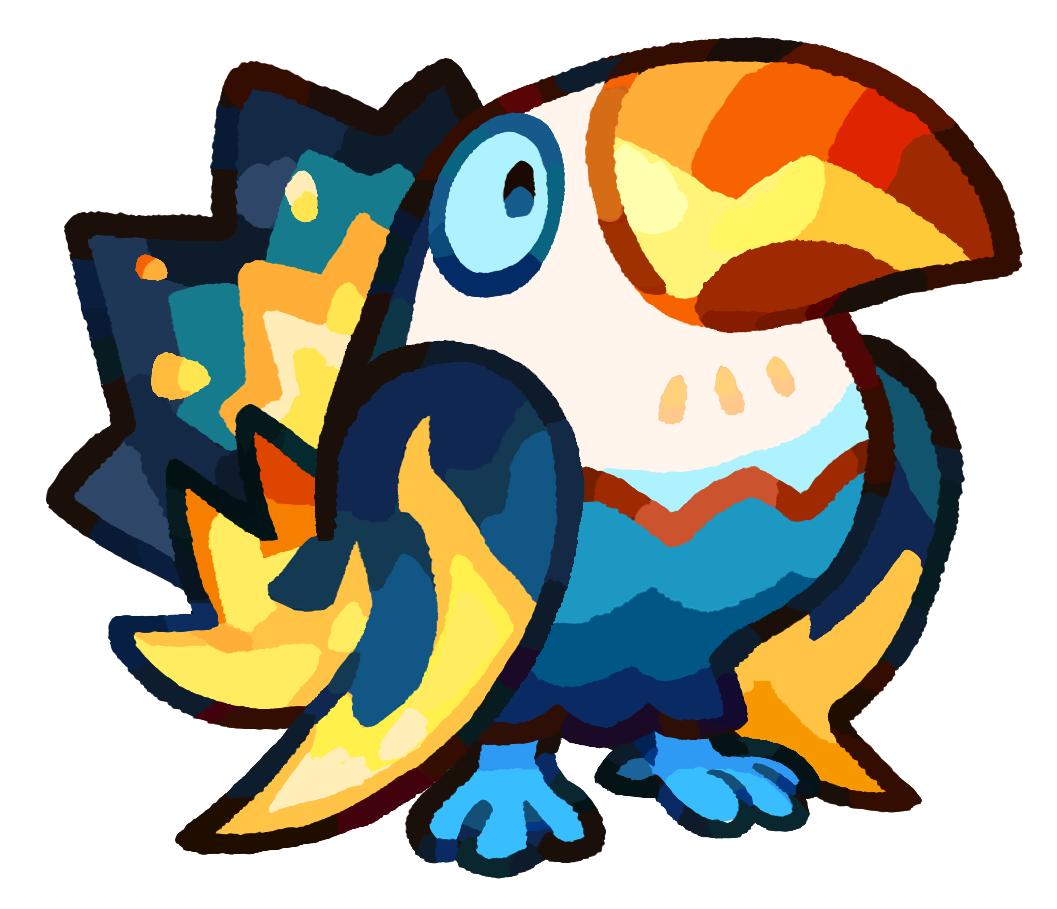 ToucanzamPurpleTank
Keep it safe in mid and use the nearby buff. The old Worm pull trick no longer changes enough runs to justify a core frontline slot.
 BastogardDPS
Testing showed decent results, but stronger tanks and flex picks replaced it quickly once the draft offered better choices.
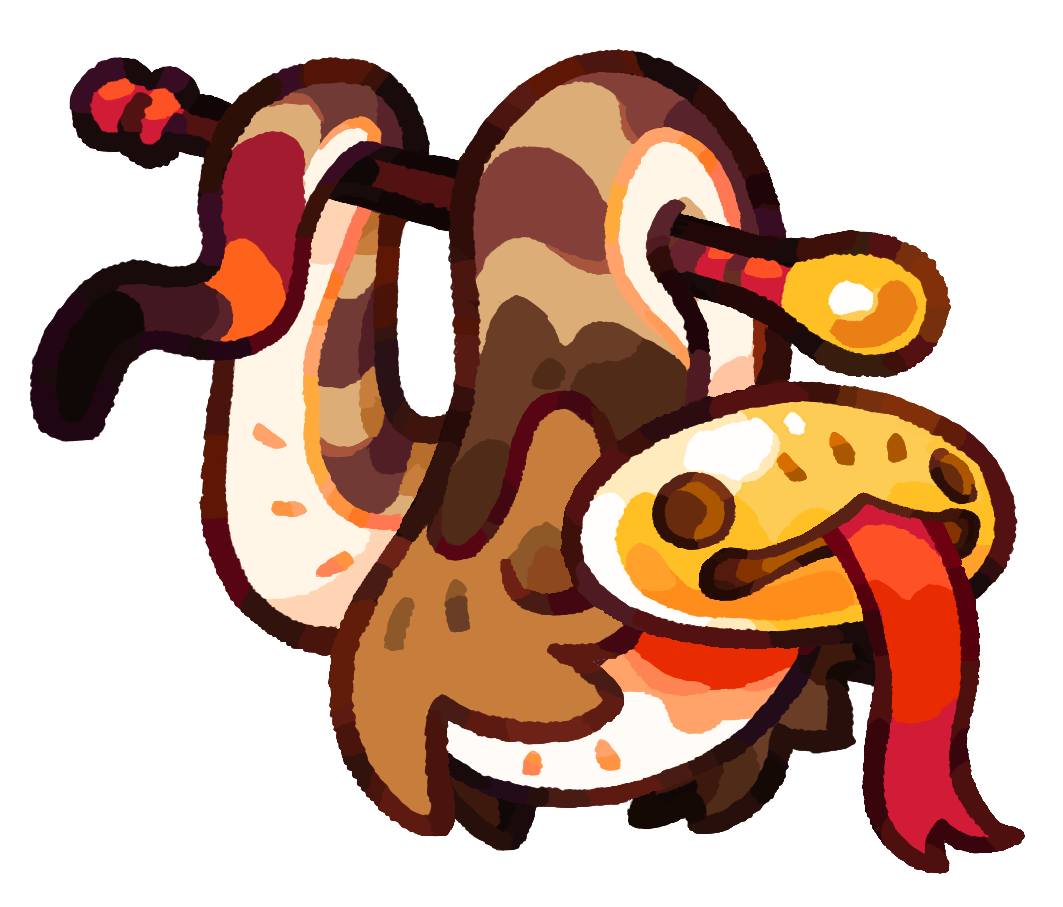 ClangnagaDPS
A workable control-and-damage fallback. It rarely beats the core DPS trio or the specialist control picks when every slot has to solve two jobs.
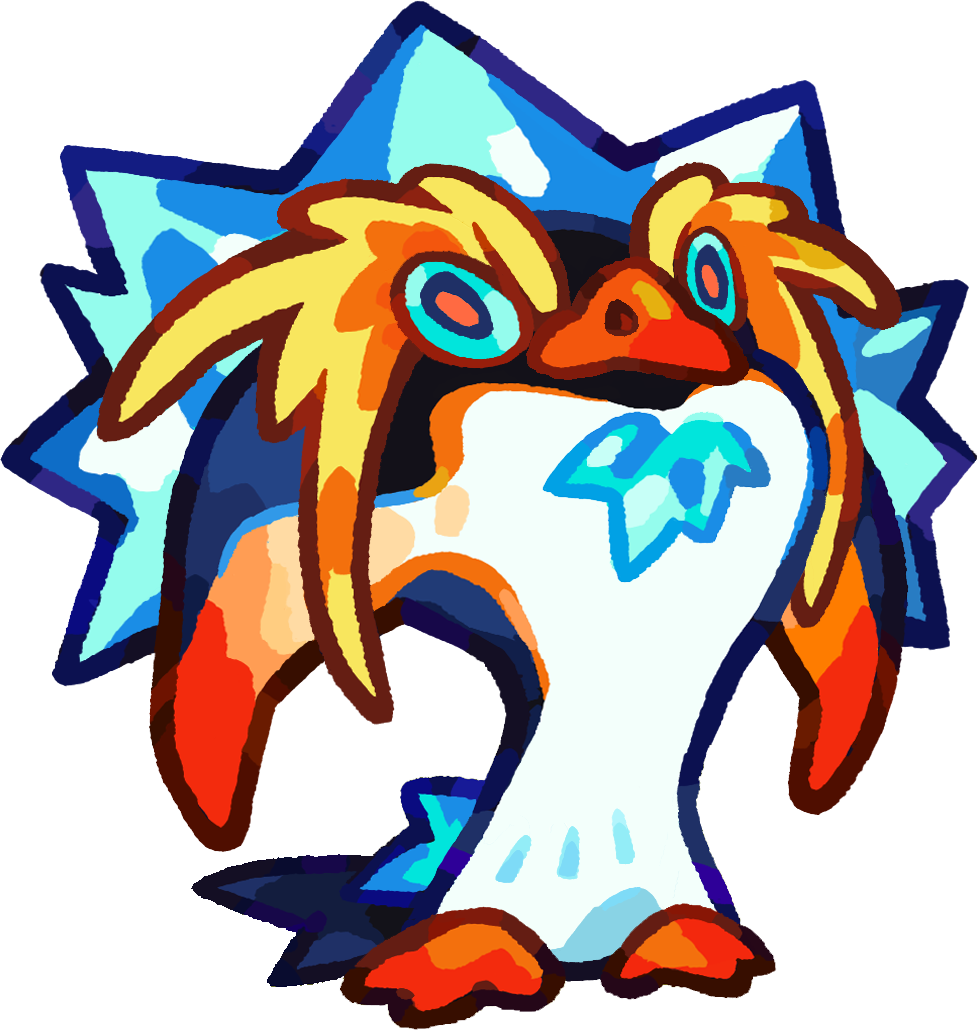 StoodbeakPurpleTank
The ice-penguin row can carry D1-D2 and patch a missing frontline. Higher difficulties ask for more sustain and utility than it provides.
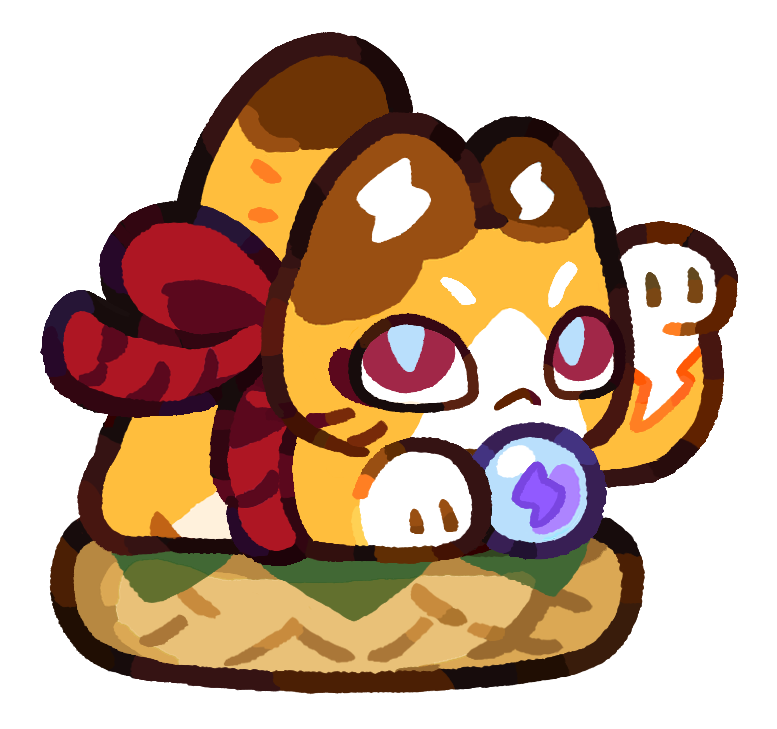 NekowattGuardian
The electric-cat option performed well enough to use, but testers replaced it quickly because it did not create a clear damage or support advantage.
 TaiglowGuardian
Self-healing, a forward dash, and Burn can stabilize an awkward slot. Its usage drops as kill counts rise, so keep it as a draft rescue rather than a planned core.